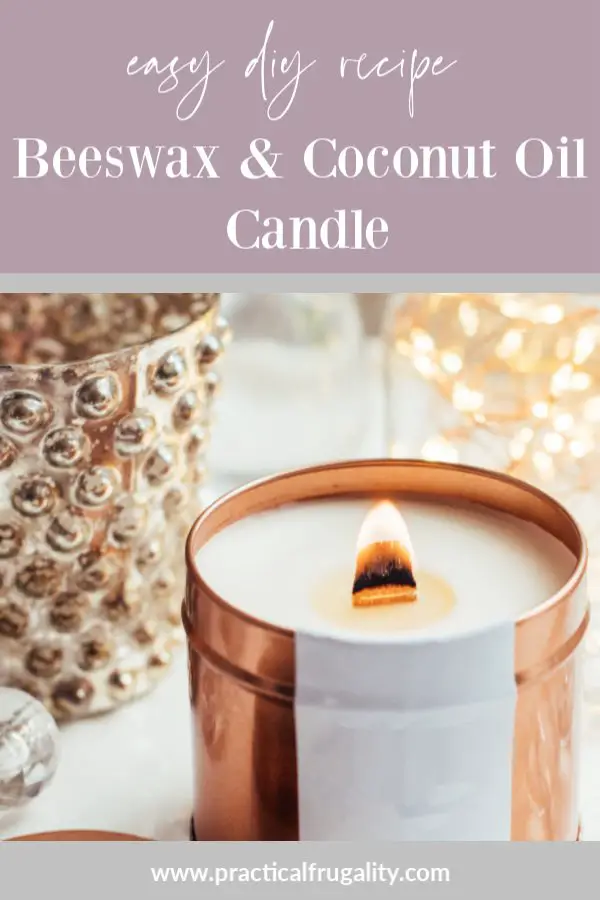
Beeswax & Coconut Oil Candle Recipe – Easy DIY Project
I’ve always enjoyed experimenting and making my homemade versions of candles.
I originally started with simply rolled beeswax candles, but later on, tried poured wax candles. Today, I’m going back to using beeswax to create these pretty candles.
In this post, I’ll share a simple beeswax and coconut oil candle recipe that anyone can make! Beeswax candles have a lovely natural honey scent and burn cleaner than paraffin candles. The addition of coconut oil helps harden the beeswax so the candles hold their shape.
All you need is beeswax, coconut oil, wick, and jars. I’ll walk through the easy melting and pouring process step-by-step. The best part is that you can customize these candles by adding essential oils to create any scent you’d like. Making your own candles is satisfying and they make thoughtful homemade gifts.
PIN THIS FOR LATER
MORE CRAFT PROJECTS YOU CAN MAKE AT HOME
There are many reasons why I like to make my your own candles. Granted there are not exactly essential items, unless that is, you have a power cut!
But if you do like to create a calming home atmosphere by burning candles, it could turn into a pretty expensive habit after a while!
Making your own candles not only saves money, but it’s a lovely project to get stuck into on a rainy afternoon.
Today’s beeswax candle recipe is made with only three ingredients and you don’t need any fancy equipment to make them.

beeswax & coconut candle shopping list
Click to compare prices & buy online
- Beeswax >>
- Coconut oil >>
- Vanilla Essential Oil >>
- Candle jam jars & tins >>
- Candle Wicks >>
- Pouring jug >>
- Candle making kit (including everything you need to get started) >>
Notes on Ingredients
Beeswax
It’s best to use 100% organic beeswax as it’s the purest and will burn evenly and without a smoke. Essentially there are two different types of beeswax.
White (refined) or yellow unrefined type of beeswax. I usually use yellow beeswax when I want the colour and the honey fragrance to be the main focus of my candle.
If you want to colour your candles, use the white beeswax which creates a good base for any colour and fragrance.
Beeswax is also very good for people who are sensitive to strong aromas, are allergic or have asthma. I’m also always surprised how slowly the beeswax candles burn and how clean the burn is.
MORE HOMEMADE PROJECTS
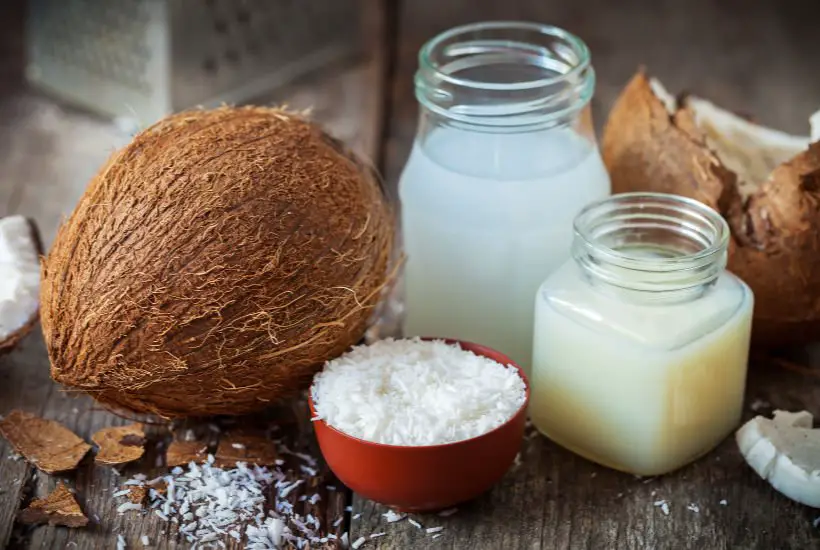
Coconut Oil
Again, it’s better to use unrefined 100% organic coconut oil, which makes a good quality candles, that burn evenly.
There is no special coconut oil you’d use for candle making, it’s the same type you use for cooking, baking or even making home cosmetics.
You can easily make your own coconut oil at home or buy some from a local health shop.
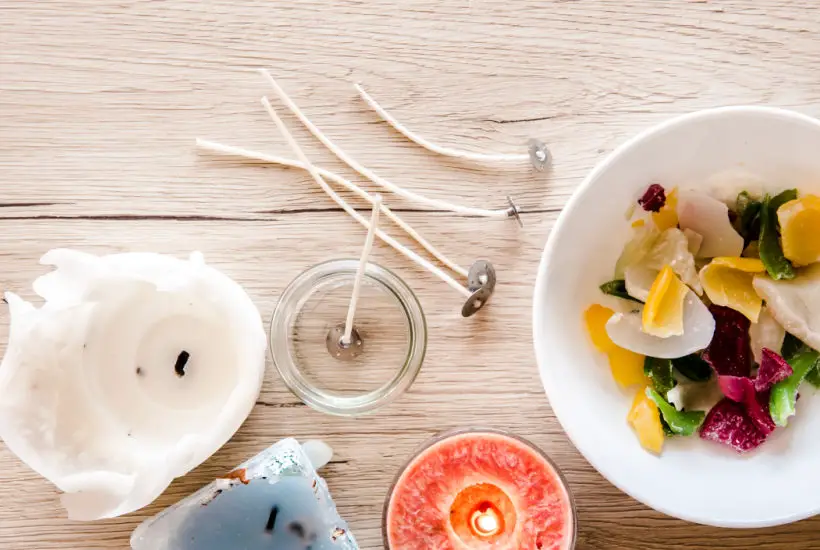
Candle Wick
The right choice of candle wick is crucial for succeeding with your candle making.
First decide on what type of candle containers you have available, whether it’s small jam jars, sea shells, vintage teacups, small tins or proper candle containers or moulds.
This will determine the thickness of your wick. The thicker wick the large container.
This is because the thickness of the wick needs to be equal to the size or width of the candle container.
If you put a thin wick in a large container, the wax only melts around the wick and won’t help to burn the wax equally.
If you put a thick wick in a small container, it will burn too quickly. It will also make the container too hot, which can be dangerous as the container can burst or crack an the oil and burning wick can cause a fire.
To get the right wick, measure the width of your container right across the middle. The wicks sizes are usually listed in diameter so if you have a 6 cm wide teacup, you need a wick for 3 dia.
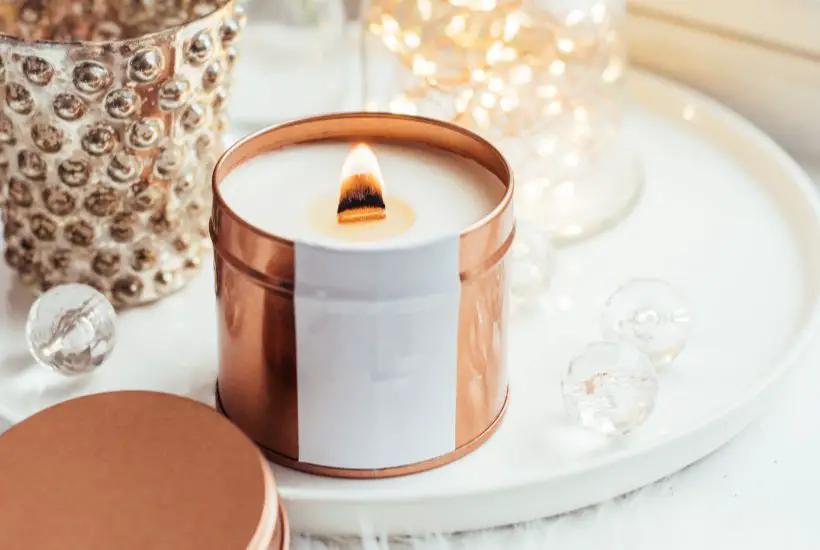
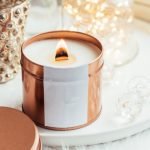
Candle jars
You are welcome to use any heat proof containers, that will withstand the continuous heat of burning candle. These include glass jam jars, tin jars and containers and some pottery and stone containers.
Buing a purpose made candle tin jars is probably the best solution, as they are inexpensive and made for candles.
Essential Oils
It’s best to use essential oils made directly for candle making, but you can use any oils that withstand higher temperatures.
This Coconut & Beeswax Candle Recipe is naturally fragranced with honey and coconut, so you want something that will compliment these smells, like pure vanilla essential oil, orange or spice aromas.
Notes on Equipment
There is no need to use any specialist equipment. All ingredients can be easily cleaned out from whatever you are going to use for melting your wax.
But, if you are thinking of making your own candles more than once or twice, it’s sensible to decide a spare plastic pouring jug and other equipment and use it just for your candle making.
You can also buy a purposefully made candle making jug to keep everything separate from your other kitchen equipment.
Melting in microwave
Simply use a plastic pouring jug suitable for microwave use.
Melting on double boiler
You don’t need to buy a ‘double boiler’, you just need to make one up! Get a small saucepan, pour about 2 cm of water in and place a large bowl or your melting jug on the top.
The bowl or jug mustn’t touch the water inside the pot and should rest on the sides of the saucepan.
Put your double boiler on a medium heat and let the water gently simmer to melt the wax. Make sure you don’t get any water inside the wax melt is this would damage the candle.
Beeswax & Coconut Candle Ingredients
170g organic beeswax
4 table spoons of coconut oil
10 Drops of Vanilla Essential Oil (or your chosen Essential Oil )
Equipment & Other materials
3 small jam jars
Candle Wicks
Wooden skewer or a pencil
Pouring jug
Instructions
STEP 1
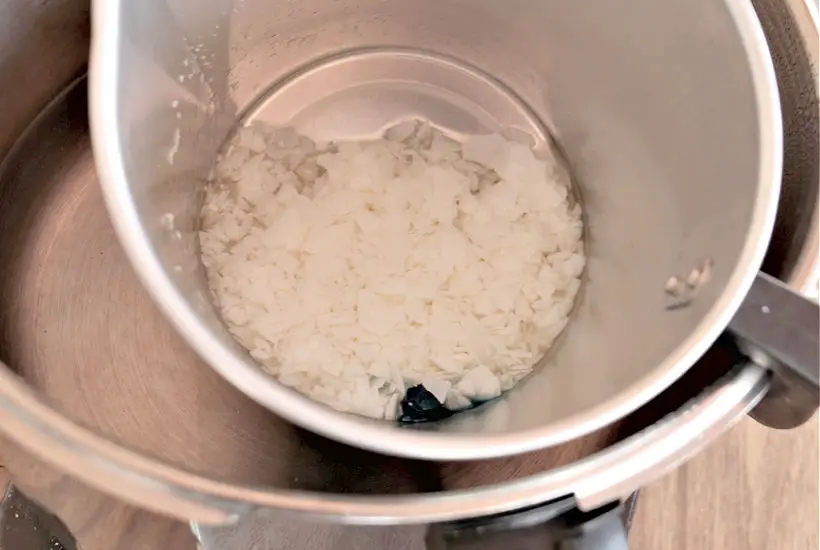
To speed up the process of melting, first of all, grate or cut the beeswax in smaller chunks. If using beeswax pellets, leave them as they are.
STEP 2
Place the beeswax either in a double boiler and melt on a hob or use a plastic bowl and melt the beeswax in the microwave. Make sure that you melt the beeswax slowly and don’t let it bubble or boil.
STEP 3
When the beeswax has melted, take it off the heat and stir in the coconut oil.
STEP 4
Wait until the mixture cools down a bit for a couple of minutes and then add a few drops of vanilla essential oil or one of your own choice.
STEP 5
Whilst you are waiting for your beeswax to melt, prepare the jam jars.
STEP 6
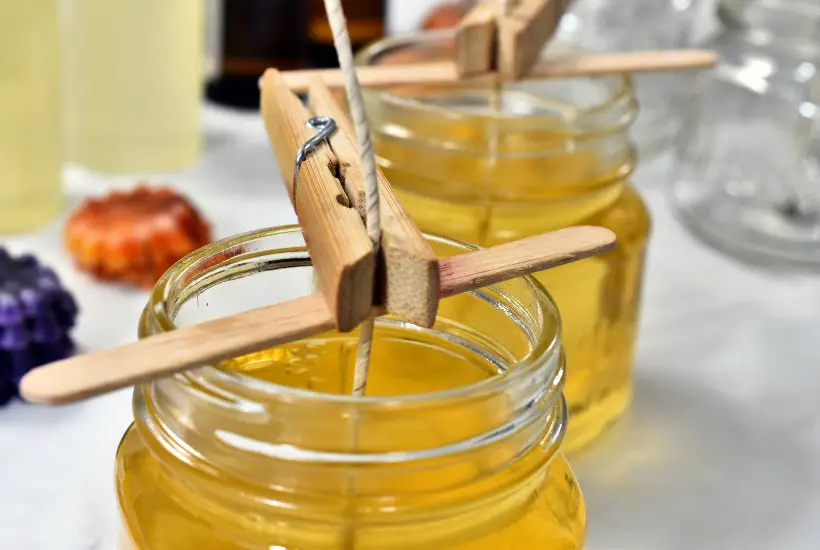
Wrap or secure with a sticky tack or cellophane to a wooden stick and place on the tops of each jar to keep the wick in the middle of the jam jar.
STEP 7
Pour a tiny bit of beeswax into each jam jar. Wait 2 minutes or so until the bottom of the beeswax in the jar is set. Make sure the wick is right in the middle of the jam jar and pointing right up. Move it to the centre if it moves as you pour the wax.
STEP 8
Some wicks come with a handy ‘feet’ to secure them before you pour your wax. You can do this with a glue gun or dab of melted beeswax and just hold it in place with a wooden dowel as it sets. This will stabilise the wick as you pour the rest of the beeswax.
STEP 9
Very slowly pour in the rest of your beeswax, making sure that you fill your jam jar about 1 cm from the top of the glass.
STEP 10
Don’t move the jam jars too suddenly and allow to set for a minimum of few hours, but better overnight. To make sure that the wax doesn’t crack, leave the candles to cool down slowly (e.g. don’t put them somewhere cold to cool down fast).
STEP 11
Carefully remove the wooden sticks and trim each wick to about 1 cm above the wax level.
STEP 12
Wrap and give away as a pretty gift or keep all for yourself!
Candle Making Tips & Frequently Asked Questions
Should you add coconut oil to beeswax candles?
If you use 100% beeswax you might get the candle tunnelling effect, where you end up with the wick burning down and not melting properly the sides of the candle.
The coconut oil helps to get the most from your beeswax. It helps to extend it’s burning time and also adds volume. If you want to, you can make 100% beeswax candles without any problem.
I normally use thicker wick (than the recommended size for my container) to prevent this happening.
But don’t worry, any excess wax can be scraped out and re-melted for the next candles, so that nothing is wasted.
What can I use instead of beeswax?
If you don’t have a beeswax or for some reason don’t want to use it, you can swap it to soy wax.
Soy wax is also natural and is about the same consistency as beeswax, so that you can use it as a straight replacement (no need to change the proportions of the recipe).

Why is my homemade candle tunnelling?
This is because the wick you’ve used is too small/thin for the width of your candle container. It will make your candle to burn very unevenly with a much smaller flame and because of that won’t release that much fragrance.
If you don’t have the chance to buy more suitable wick or you want to use up the ones you already have, there is still a way to use them safely.
Check what size of candles the wicks are suitable for and then use 2-3 space out in your candle.
For example if you have a thin candle wick suitable for 1 cm candle and your container is about 6 cm wide, use 3 wicks and place them in equal parts from each other and from the sides of the container.
READ MORE
How do I know what size of wick to use?
Measure your candle container first and then choose your wick that’s suitable for the candle diameter. For example if your jam jar is 6cm wide, you need to use a wick that’s suitable for 3 cm diameter.
Stay in touch
Hope this post inspires you and of course, I’d love to know what you think! Let me know in the comments below or find me on Instagram, Facebook or Twitter and add the hashtag #practicalfrugality so that I can see your post.
Or why not subscribe to my weekly newsletter with frugal living tips and recipes straight to your mailbox.
Magdalena
Beeswax & Coconut Candle
Equipment
- 3 small jam jars
- Candle Wicks
- Wooden skewer or a pencil
- Pouring jug
Materials & Ingredients
- 170 g organic beeswax
- 4 table spoons of coconut oil
- 10 Drops of Vanilla Essential Oil or your chosen Essential Oil
Instructions
- To speed up the process of melting, first of all, grate or cut the beeswax in smaller chunks. If using beeswax pellets, leave them as they are.Place the beeswax either in a double boiler and melt on a hob or use a plastic bowl and melt the beeswax in the microwave. Make sure that you melt the beeswax slowly and don’t let it bubble or boil.
- When the beeswax has melted, take it off the heat and stir in the coconut oil.
- Wait until the mixture cools down a bit for a couple of minutes and then add a few drops of vanilla essential oil or one of your own choice.
- Whilst you are waiting for your beeswax to melt, prepare the jam jars.
- Wrap or secure with a sticky tack or cellophane to a wooden stick and place on the tops of each jar to keep the wick in the middle of the jam jar.
- Pour a tiny bit of beeswax into each jam jar.
- Wait 2 minutes or so until the bottom of the beeswax in the jar is set.
- Make sure the wick is right in the middle of the jam jar and pointing right up. Move it to the centre if it moves as you pour the wax.Some wicks come with a handy ‘feet’ to secure them before you pour your wax. You can do this with a glue gun or dab of melted beeswax and just hold it in place with a wooden dowel as it sets. This will stabilise the wick as you pour the rest of the beeswax.
- Very slowly pour in the rest of your beeswax, making sure that you fill your jam jar about 1 cm from the top of the glass.
- Don’t move the jam jars too suddenly and allow to set for a minimum of few hours, but better overnight.
- To make sure that the wax doesn’t crack, leave the candles to cool down slowly (e.g. don’t put them somewhere cold to cool down fast).
- Carefully remove the wooden sticks and trim each wick to about 1 cm above the wax level.
- Wrap and give away as a pretty gift or keep all for yourself!