My tried and trusted 10 practical tips on how to make candles last longer, including keeping the wick straight, freezing candles, adding salt and choosing the right place to light your candles.
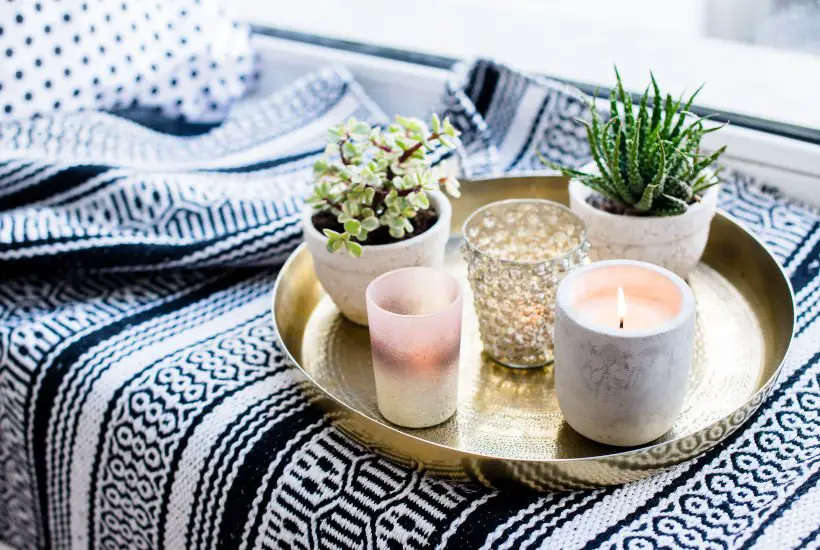
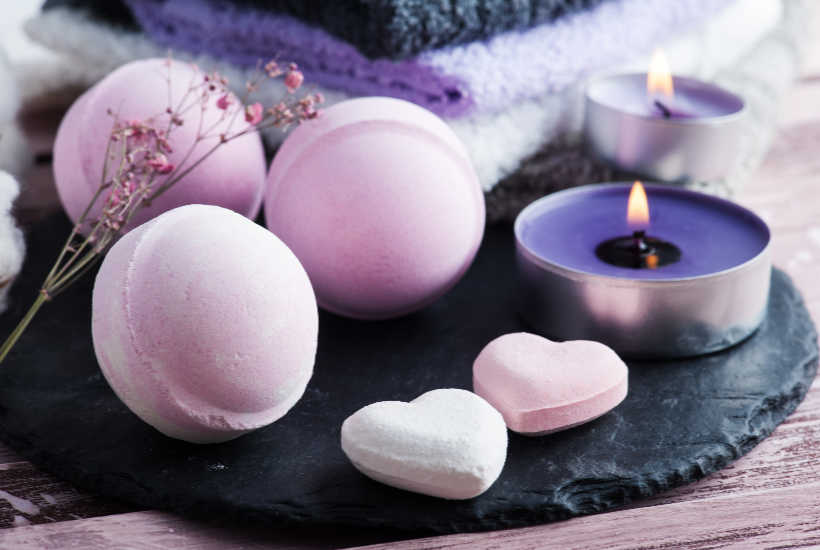
Remember the gorgeous aroma of the beautifully scented candle? What better way to create that special atmosphere than by lighting a fragranced candle?
So whether it’s a cosy night in by the fire, a long bubble bath or a romantic candlelit dinner for two, here are my tried and trusted 10 tips on how to make candles last longer and ensure that special evening goes on well into the night!
Quality handmade candles with natural fragrances can also be a little bit of an investment, so by looking after your candle, you’ll be looking after your pennies too! Even if you are making your own homemade candles, you want to make sure that they last last long as it’s possible.
There are several ways how to make candles last longer.
1. Check the wick length
Trimming the wick is generally considered to be one of the best ways to extend a candle’s life. Scissors and a ruler are handy accessories to use. If it gets too fiddly one tip is to try nail clippers.
The consensus is that the wick should be no more than ¼ of an inch long. It should also be trimmed every time the candle is re-lit. This is because longer wicks tend to give off more smoke and soot.
This, in turn, can lead to an irregular oxygen flow to the flame, which may result in constant flickering and uneven heating. So you might end up with a big flame which burns down your candle all too quickly.
However, if you keep the wick nicely trimmed to ¼ of an inch, it will burn more evenly and last longer. Don’t forget to trim even new candles as often candles are made with longer wicks than it’s necessary. This is good for the candle look, but not so much for the burning time.
2. Burn your candle more evenly
When you first light the candle, it needs to burn for long enough to reach the edge of the container. Allow one hour per inch of diameter. In other words, allow the candle wax to melt all the way across the candle before you blow it out the for the first time. Don’t just leave a small pool of wax in the centre of the candle.
Why’s this important? Because, if the candle wax doesn’t properly melt once first lit, the odds are that any hard, dry wax around the outside edge will never burn later on. The length of the first burning time depends on the size of your candle, but 2-4 hours are usually recommended burning times for first and any consecutive time after that.
READ MORE
3. Choose your candle shape carefully
Circular – round candles are more likely to burn more evenly than other shapes because all the wax is a regular distance from the wick. So square candles and other shapes can melt unevenly and waste more wax.
4. Choose multi wicks when buying large candles
Candles with evenly spaced wicks burn more evenly than large candles with a single wick. And that’s not the only reason for choosing multi wicks with large candles. Artisan candle makers choose the thickness of the wicks based on the size of the candle.
In practise this means that large candle needs a thicker wicks to ensure the wax melts evenly. Cheaper large candles with just one wick might look pretty, but the actual burning could be very uneven.
5. Make sure the candle wick is straight in the middle
This might sound obvious, but for the candle to burn evenly the candle wick has to be in the middle. If your candle wick somehow moved during the last time you burned your candle, gently reposition it back to the middle.
Make sure the candle flame is blown away and use something like a long wooden skewer so that you don’t hurt yourself.
6. Choose the perfect location for your candle
Keep your lid candles away from draughts, vents, and poorly insulated windows as this will result in flickering flames, uneven burning and can cause wax melting on one side only.
7. Freeze your candles before burning them
Personally, I haven’t tried this one yet, but my friend, who lives in very warm country recommends it. Freezing candles is another way to make them last longer. A tip here is to wrap the wick in aluminium foil before you freeze it. Cover the candle in a plastic wrap or cling foil and then freeze before use.
Freezing hardens the wax which makes it burn more slowly and so lasts longer. If you remember it, make sure that your candle is kept in the freezer for at least 3 hours before you want to light it. This makes perfect sense; I’m just not sure I have enough space in my freezer for my candle’s collection!
8. Add a pinch of salt when you burn your candles
Another tip on how to make candles last longer is to add salt as like putting them in the freezer, it slows down the burn time.
Once you are ready to blow out the candle flame for the night, have your salt ready. First of all, blow out the flame. Then quickly sprinkle table salt into the liquid wax before it turns solid. You can also use a toothpick to ensure that the salt actually mixes in the wax.
9. Choose your candle ingredients wisely
Another way how to make candles last longer is to check that they’re made from the best ingredients. Two of the best are soy wax, which is made from hydrogenated soybean oil, and beeswax.
Soy wax tends to be cheaper and easier to work with. Beeswax may last longer and look naturally attractive but is more difficult to work with as it has a very high melting point.
Palm wax, paraffin and gel also burn for fairly long time.
10. Store your candles correctly
Make sure your candles are stored in a cool and dark place ideally away from sunlight and any direct heat. Replace tin or jar lids to prevent any dust getting into the candles and store long candles flat to avoid any warping or bending.
We hope sharing these easy to follow tips on how to make candles last longer will enable you to get the most out of your candles. And, of course, add to that special atmosphere that any evening with scented candles always brings.

Leave a Reply