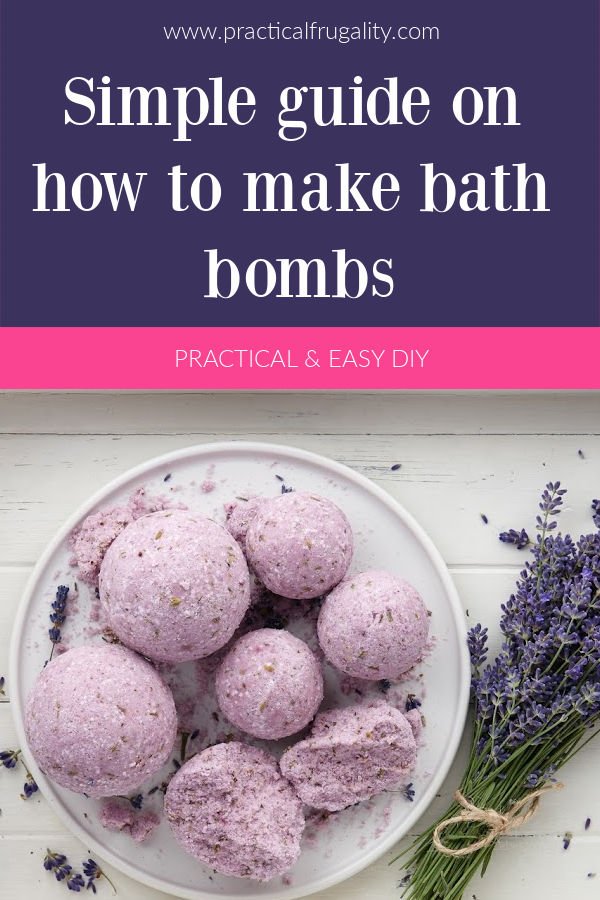
Making bath bombs at home is simple enough, but there are still few things that can surprise you when you make the first batch. I’ve made quite a few different variations of bath bombs over the years and they made great gifts and were fab to use too.
I don’t quite know when bath bombs become so popular, but the idea of taking a time out of our busy life and slowing down enough to enjoy a leisurely bath is an idea I can always get behind!
Bath bombs are also a great activity to make with children. The ingredients are safe to handle, but it’s better to use gloves in case your or your children skin is a little bit sensitive to the concentrated amount of the ingredients.

Equipment
- Large Mixing bowl or two (if you are doing more than one colour)
- Kitchen scales or measuring cups and spoons
- Bath bombs moulds (either plastic ones or stainless steel)
- Water spray bottle (like for spraying plants)
- Gloves
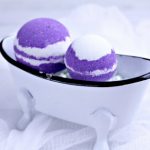
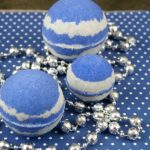
Before you start, you need to choose the right bath bomb mould for your project. You have quite a few different options, which is why I’ve written a quick guide to the best bath bombs moulds out there.

Ingredients that you will need to make your bath bombs
Click to check the price and buy online:
Bicarbonate of soda
This is usually the main ingredients in most recipes. You can use any bicarbonate soda you have, although if you are thinking of making quite a few different types of bath bombs, you might like to buy baking soda in bulk.
Citric Acid

It’s good idea to get different types of citric acid to vary the consistency of your bath bombs. If it’s too fine, your bath bombs will set too hard, but if you ad only the coarse citric acid, you might not be able to get all the ingredients to stick. If you mix some coarse and some fine citric acid, you should be fine.
Citric acid is what will make your bath bombs fizz, when you put them in the bath.
Cornstarch
This is usually used so that the citric acid fizzes for bit longer and you can use a cornstarch you have at home for baking.

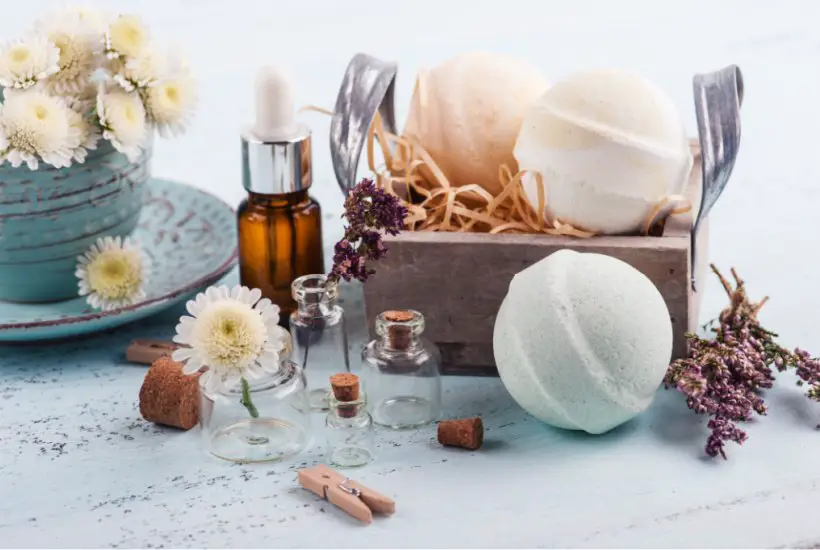
Fragrance or essential oil
You should be using fragrance or essential oil suitable for soap making or using a food grade essential oil. My motto is that if it’s enough to eat, it will be fine on my skin! It’s best to use oil based essences over water based, as these ad too much water to the mixture. Water based essences are also not very concentrated, which means you need quite a few drops before you get the flavour.
Oil
Like with most homemade cosmetics, oil is used to bind the rest of the ingredients together. You can use anything that you would normally used for making soaps, sugar scrubs or body butters. This includes:
- Olive Oil
- Coconut Oil
- Almond Oil
- Caster Oil
Water
Although we don’t want to add too much water when we are making our bath bombs, we need some to hold the ingredients together. You will usually need only enough to make the ingredients moist and after that they will happily stick together.
Instead of using spoons to measure out the water, I usually use water spray bottle, which allows me to add only enough water I need for my recipe.

Colour
You can keep things natural and don’t use any colour, but where would be fun in that! Again, it’s best to use specially developed colours for soap and bath bombs making. Such colours are gentle enough for your skin and bright enough to colour the baking soda and citric accid.
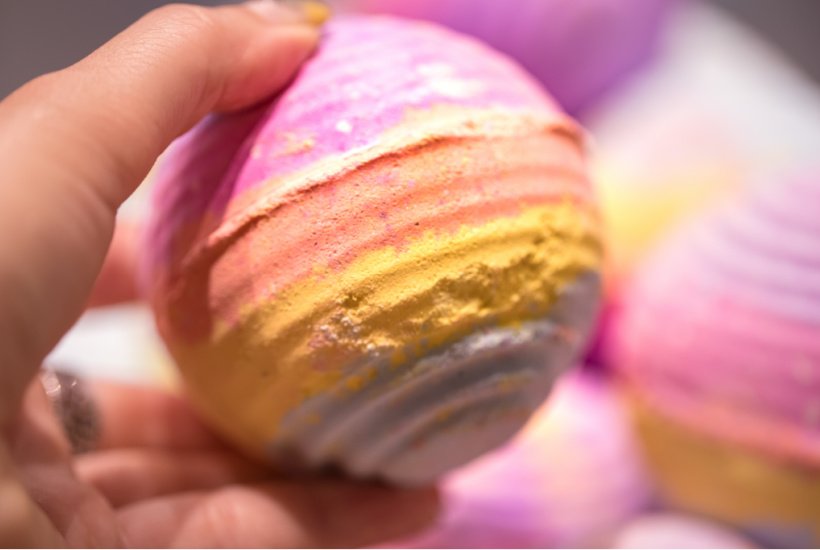
Mica colours or Glitter
It’s great to add extra shimmer to your bath bombs, but do use soap based glitter or mica colours for your bath bomb making.

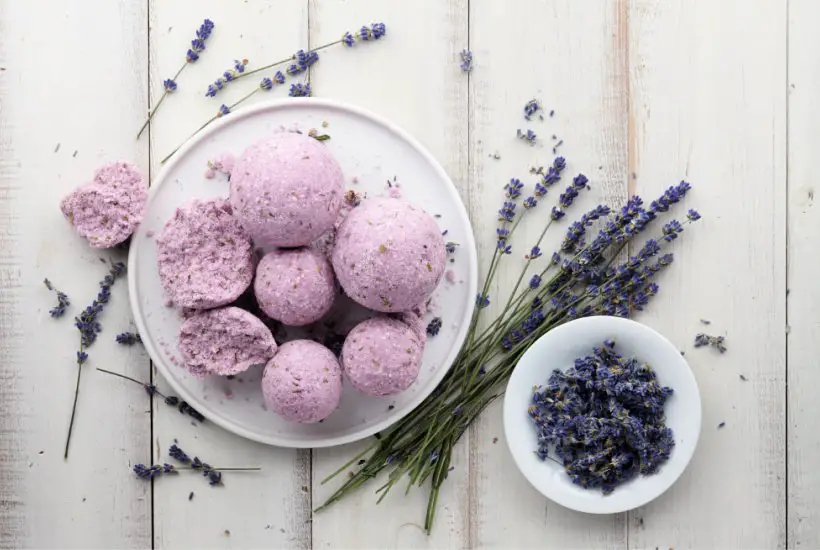
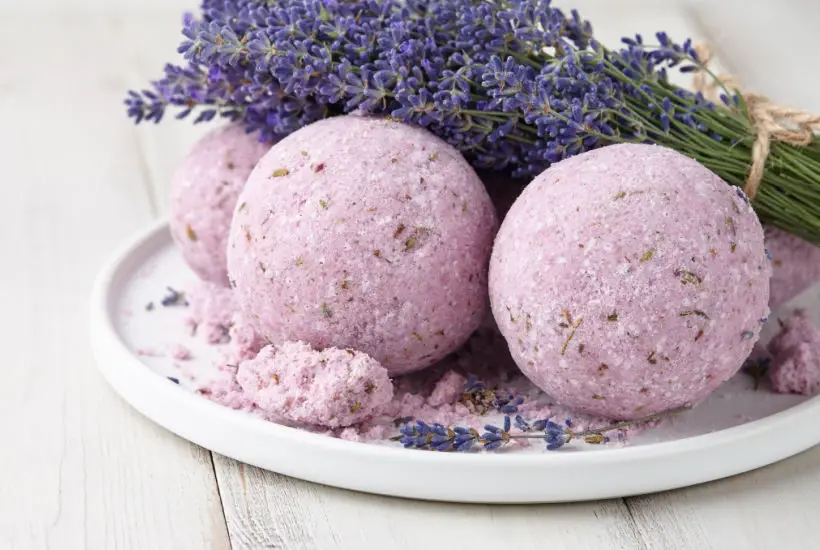
Dried pettals
You can also add dried flowers to your bath bombs and something like a lavender, rose or wild meadow flowers will not only look pretty but they will also add a hint of fragrance.
Dried herbs
Sea Salt or epsom salts
Salt contains magnesium (and lots of other natural minerals and vitamins) and helps your muscles to relax. If you had a really busy day and your body aches, the magnesium in the salt will absorb quickly into your body and you will feel great in the morning.
The process of making bath bombs at home
Step 1 – Mix all the dry ingredients
Weigh all the ingredients carefully first and mix them well together in a large bowl. You can use a hand whisk for this as this will help to break any clumps.
Step 2 – Mix all the wet ingredients
Using a separate bowl, mix thoroughly all the wet ingredients.
Step 3 – Mix the wet and dry ingredients
Add slowly the wet ingredients into the dry ingredients and keep mixing and stirring everything together. If the mixture looks too dry add a little bit of water from your spray water bottle. Your mixture should only just come together and hold shape when pushed together.
Step 4 – Fill your bath bomb moulds
Press your bath bomb mixture into the mould, tap down on the table and press in again. You want to make sure that everything is pressed together well. Put both sides of the bath bomb mould together and press down.

Step 5 – Leave to dry
Make sure you leave your bath bombs to dry for a minimum 12 hours but better for 24 hrs before you unmould them.
Step 6 – Storage
Your bath bombs need to be stored in something that will prevent them from absorbing moisture from the air. The easiest thing to do is to wrap them in a cellophane bag with a pretty ribbon or store them in a large glass jar.

Troubleshooting
Why won’t my bath bombs stay together?
If your mixture is too dry, you will have problems with your bath bombs sticking together. Make sure that the mixture is wet enough to hold together (like a slightly wet sand, when you were making your sand castles).

Can bath bombs be harmful?
Well, it depends what you put in them, but in all seriousness, they should be absolutely fine. Follow a more basic recipe, so that you don’t over complicate things and don’t add any extra ingredients that are not suitable for soap making.
If you have very sensitive skin you might experience some irritation, but you would know that as shop-bought bath bombs are made in exactly the same way.

My bath bombs are not fizzing
It looks like your bath bomb needs more citric acid. This is what will make your bath bomb fizz together with cornstarch, which somewhat controls the dizziness and makes it last longer.
My bath bombs are lumpy
This is caused by not mixing the dry ingredients properly. It’s best to use a whisk to help with the mixing. The whisk will help you to break down any lumps in the mixture, so that when you add your wet ingredients everything will stay the perfect consistency.
Bath Bombs Recipes

Stay in touch
Hope this post inspires you to make your own natural cosmetics and if you do, I’d love to what you think! Let me know in the comments below or find me on Instagram, Facebook or Twitter and add the hashtag #practicalfrugality so that I can see your post.
Or why not subscribe to my weekly newsletter with frugal living tips and recipes straight to your mailbox.
Magdalena
PIN THIS FOR LATER

Leave a Reply