How to make homemade soap bars for beginners (melt & pour soap base method)
I never thought that you could make a good soap at home, until a few years ago when I was looking for a cleanser that would be gentle on my skin, and I couldn’t find anything at the local market that would be suitable.
My regular soap maker has moved away and while I experimented with some other soaps, I couldn’t find anything I liked.
Then my friend mentioned, over a cup of coffee, that she made some simple soaps with her daughter and that not only it was fun to make, but surprisingly the soap was excellent quality, and it was lovely to use!
PIN THIS GUIDE FOR LATER
I went back home and found a dusty old book in the back of our bookcase, that had some recipes for home fragrances and cosmetics. It all sounded reasonably simple!
But checking, that the book was from the 1970s I thought perhaps soap making has moved on a little and ventured to my local book shop to see if there are more up to date books on soap making.
I bought a couple of natural soap making books and on the way home stopped in a craft shop to pick up the essential soap making ingredients. That evening I made my first soap, and I got completely hooked!
Here are a few essential things you need to know before you get started with soap making at home.
HOMEMADE SOAP RECIPES
What’s the easiest way to make a bar of soap?
If you are starting, I would recommend using soap base to help you with the first soap making steps.
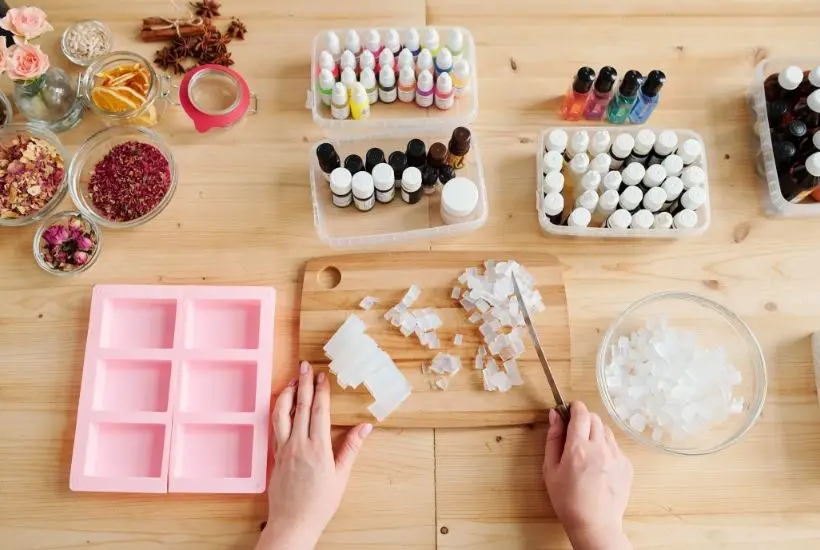
If you use a soap base, you only need to heat the soap base, mix in other ingredients and use a soap mould to set your soap. The process takes next to no time, and your soap can be used pretty much when it sets (around 60 min from when you pour it to the soap mould).
If you decide to go down the traditional route of cold making soap process, you’ll need to wait for your soap to cure for the best part of 4-6 months.
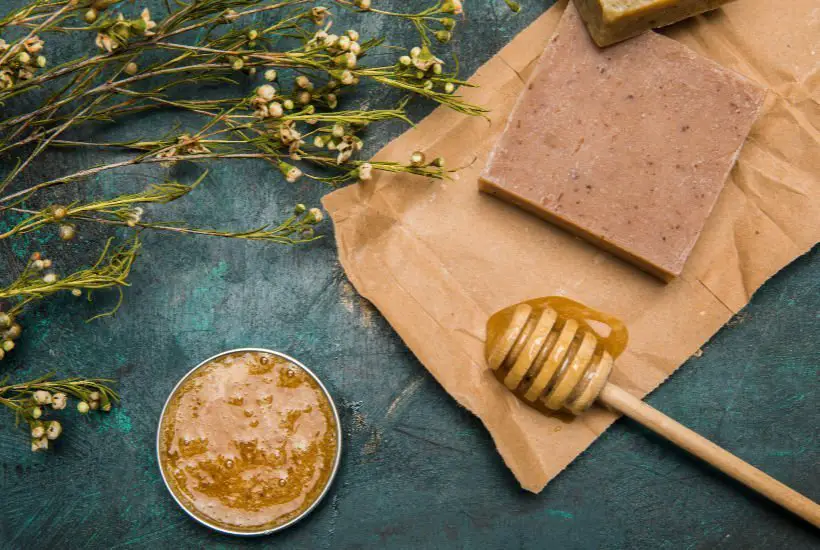
Understanding the Two Main Ways to Make Soap
I’ve already mentioned “melt-and-pour” and “cold process,” but let’s look closer at the difference.
Melt-and-Pour (Using a Soap Base): This is the method you recommend for beginners, and it’s super easy! Think of it like baking a cake from a box mix. You buy a soap base that is already made (it has already been through the lye process). All you do is melt it, add your colors and scents, and pour it into a mold. Your soap is ready to use in about an hour! It’s safe, fast, and a great way to learn about mixing ingredients.
Cold Process (Traditional Method): This is the traditional – cold process way of soap making where you mix oils and fats (like coconut and olive oil) with lye (Sodium Hydroxide). This creates a chemical reaction called saponification that turns the oil into soap. This method lets you control every single ingredient, but you must be very careful with the lye, and the soap needs to “cure” for weeks before it’s gentle enough to use. Start with melt-and-pour first!
HOMEMADE SOAP RECIPES
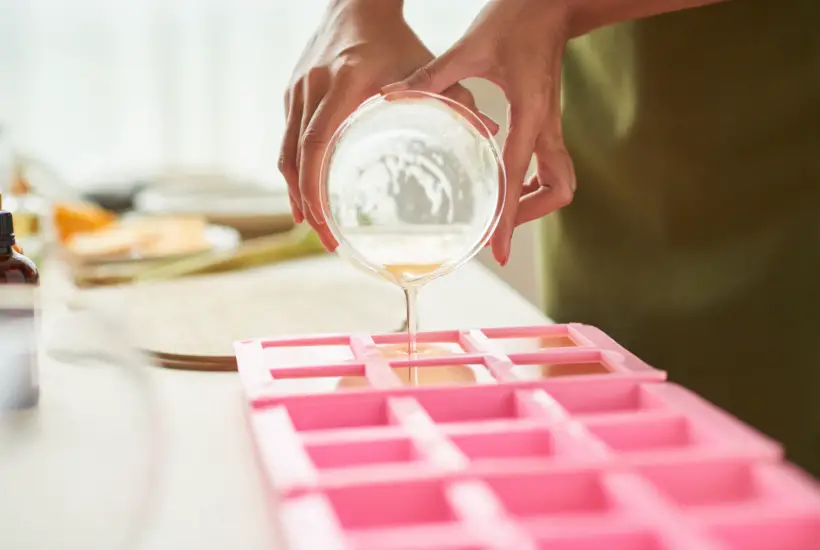
Ingredients for soap making
Each recipe will have individual ingredients listed, but here is what I tend to use in most of my soaps (you don’t usually use all of these in one soap)
- olive oil (great to add moisture to your soap_
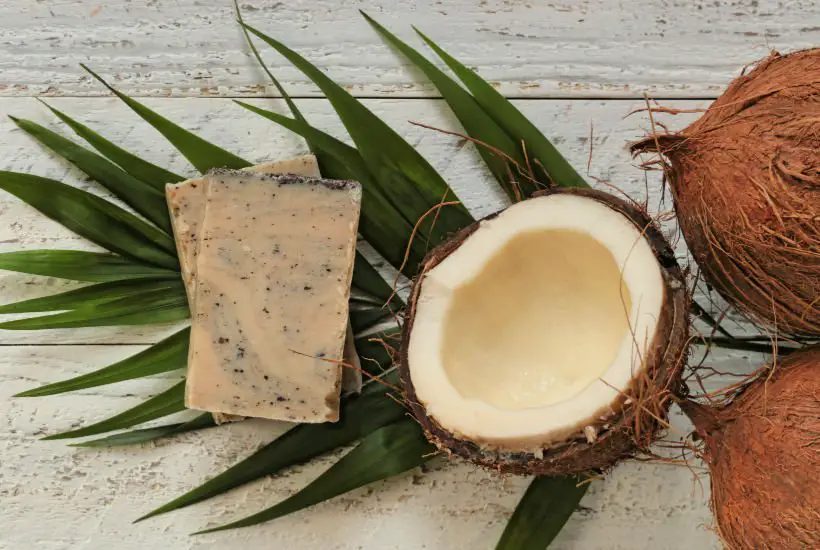
- coconut oil (good for lather)
- palm oil (this will produce a firm bar of soap)
- shea butter (great for moisturizing)
- lye (Sodium Hydroxide – the traditional soap making ingredients, that gets rid of dirt)
- Soapwort Plant (root, stems or leaves)
- water
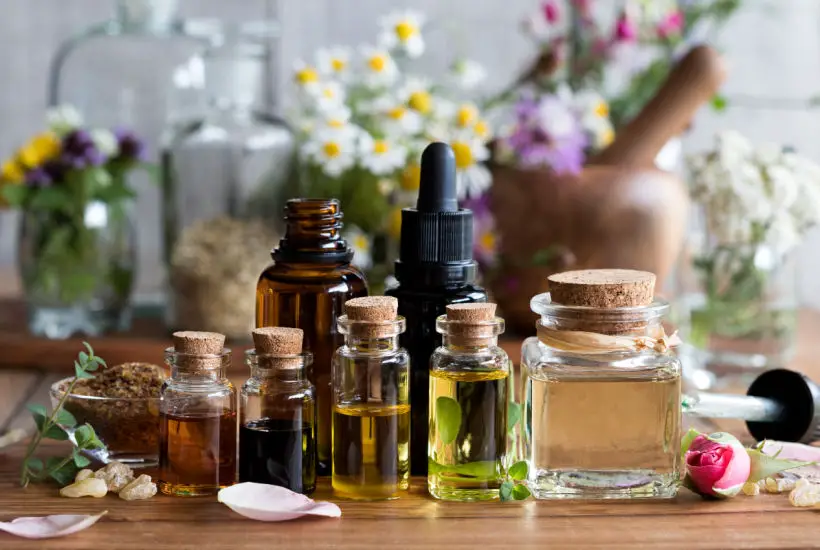
- essential oils
- soap colour
- additional ingredients can also include
- raw honey
- dried flowers – rose petals, herbs
- rolled oats
Equipment for soap making
● Silicone soap mold (buy here)
● Large Pyrex measuring cup
● Wooden stir stick
HOMEMADE SOAP RECIPES
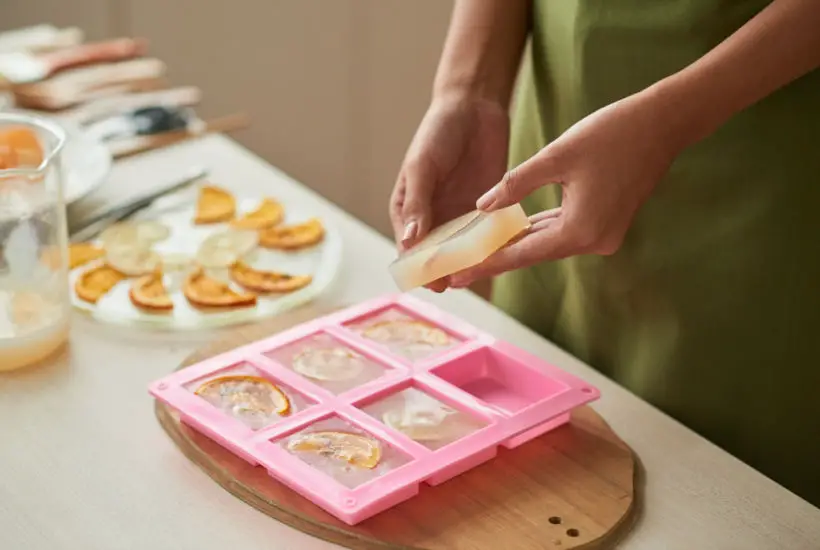
How to make handmade soap without lye
Lye or sodium hydroxide can be very harsh on sensitive skins, and that’s one of the reasons why some people might prefer to make a bar of soap without it. The good news is that you can make lye free soap.
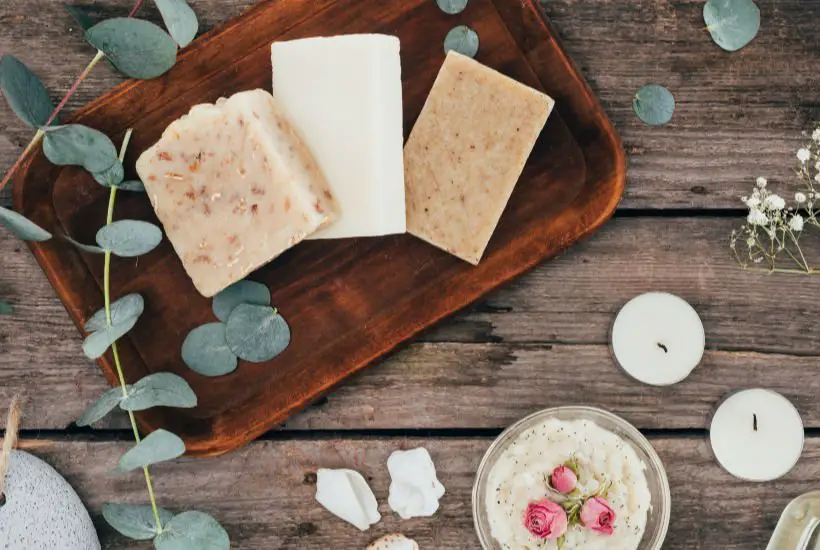
How to Choose Your Soap Base
When you go to buy your soap base, you will see many different types! They all work well, but each one gives your finished soap a special quality:
- Goat’s Milk Base: This base is creamy white and very moisturizing. It’s often chosen by people with dry or sensitive skin because it is so gentle and rich.
- Shea Butter Base: Shea butter is known for being extremely nourishing. If you want a soap that feels extra conditioning and helps soothe very dry skin, this is a great choice.
- Clear Glycerin Base: This base is see-through, like a block of glass! It’s perfect if you want to add dried flowers or colorful embeds (small pieces of pre-made soap) because you can see them clearly inside the bar.
- Hemp Seed Oil Base: This base is usually a light green color and is very popular because it creates a great lather (lots of bubbles) and is good for all skin types.
HOMEMADE SOAP RECIPES
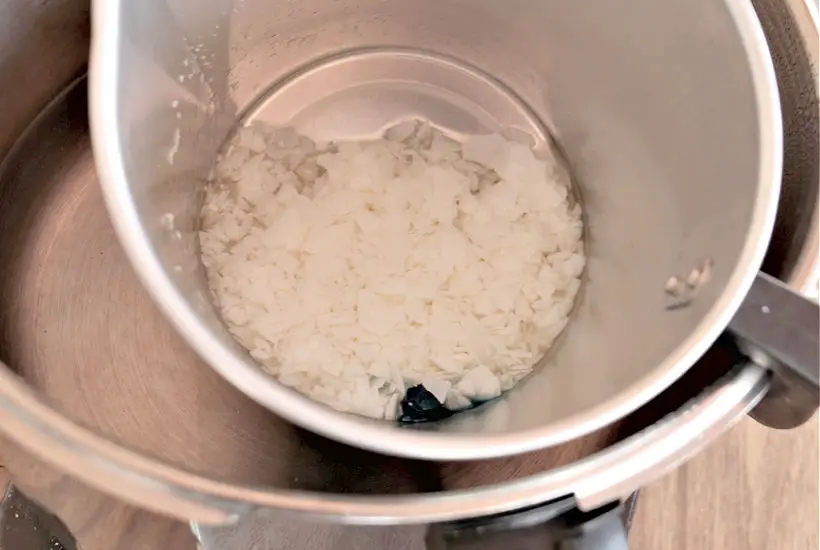
Easy Ways to Melt the Soap Base
I’ve already mentioned using a separate jug for melting, but let’s look at the two easiest ways to actually heat it up:
- The Microwave Method: This is the fastest way! Chop your soap base into small 1-inch cubes and put them in your heat-safe jug. Heat the soap in very short bursts—30 seconds at a time—stirring in between each one. This stops the soap from getting too hot or boiling, which can dry it out or create too many bubbles. Only stop heating when the very last little chunk is melted.
- The Double Boiler Method: If you don’t want to use a microwave, a double boiler is your friend! Place a heat-safe bowl with your chopped soap over a saucepan of simmering water (make sure the water doesn’t touch the bottom of the bowl). The gentle steam melts the soap slowly and evenly. This method takes longer but gives you a little more control over the temperature.
Knowing When to Add Ingredients
Timing is everything in melt-and-pour soap making! You can’t just throw everything in at once.
- Melt the Base: First, melt your soap base until it is fully liquid.
- Wait for the Cooldown: Wait just a minute or two after melting. If the soap is too hot, the essential oils will disappear into steam, and your color might change. You want the soap to be cooling down, but still fully liquid.
- Add Scents and Colors: Stir in your essential oils, fragrance oils, and colorants now. Stir gently to make sure they are fully mixed.
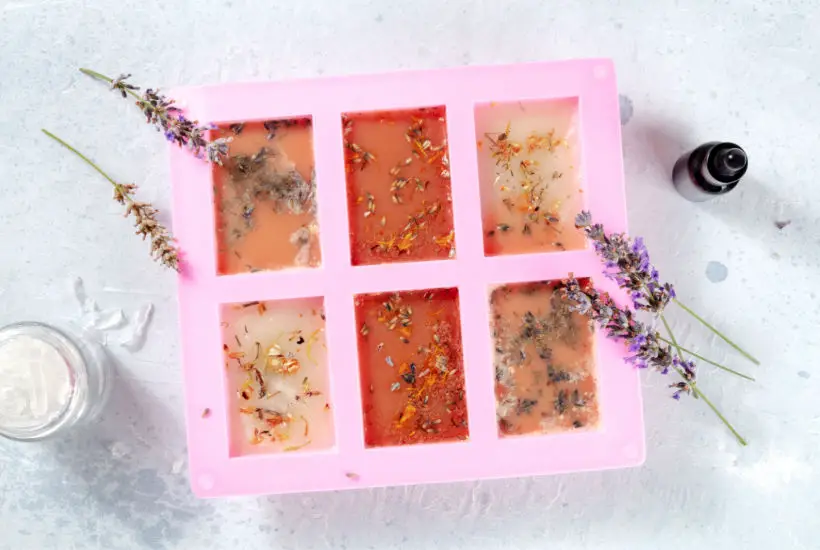
- Add Extras Last: Dried lavender buds, oatmeal, or coffee grounds should be stirred in just before pouring. If you add them too early, they will all sink to the bottom of the mold instead of floating nicely throughout the soap bar.
Essential Safety Tips When Making Soap
Safety is the most important thing, even when using the simple melt-and-pour method! Even though you are not using lye in the melt-and-pour method, you are still working with heat.
- Watch the Heat: When melting your soap base, always use oven mitts or a thick towel to handle the Pyrex measuring cup or bowl, as it will get very hot.
- Essential Oil Care: Remember that essential oils are very strong. Always use the recommended amount; too much can be irritating to your skin. Also, always keep these oils safely stored away from children and pets, as they are very concentrated.
- Keep Equipment Separate: It’s a great idea to have a separate wooden stir stick, measuring cup, and utensils just for soap making. This keeps any leftover oils, colors, or scents from mixing with the food you cook or eat.
The Importance of the Soap Mold
You list a silicone soap mold as one of the essential items, and it really is!
- Why Silicone? Silicone is the best material for molds because it is very flexible. Once your soap is completely hard, you can easily bend the sides of the mold and pop the soap right out without damaging it. This is called “unmolding.”
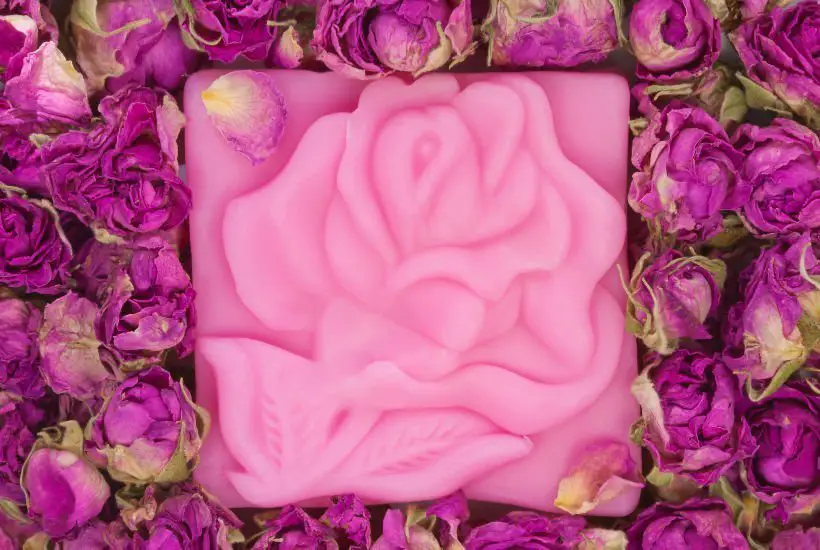
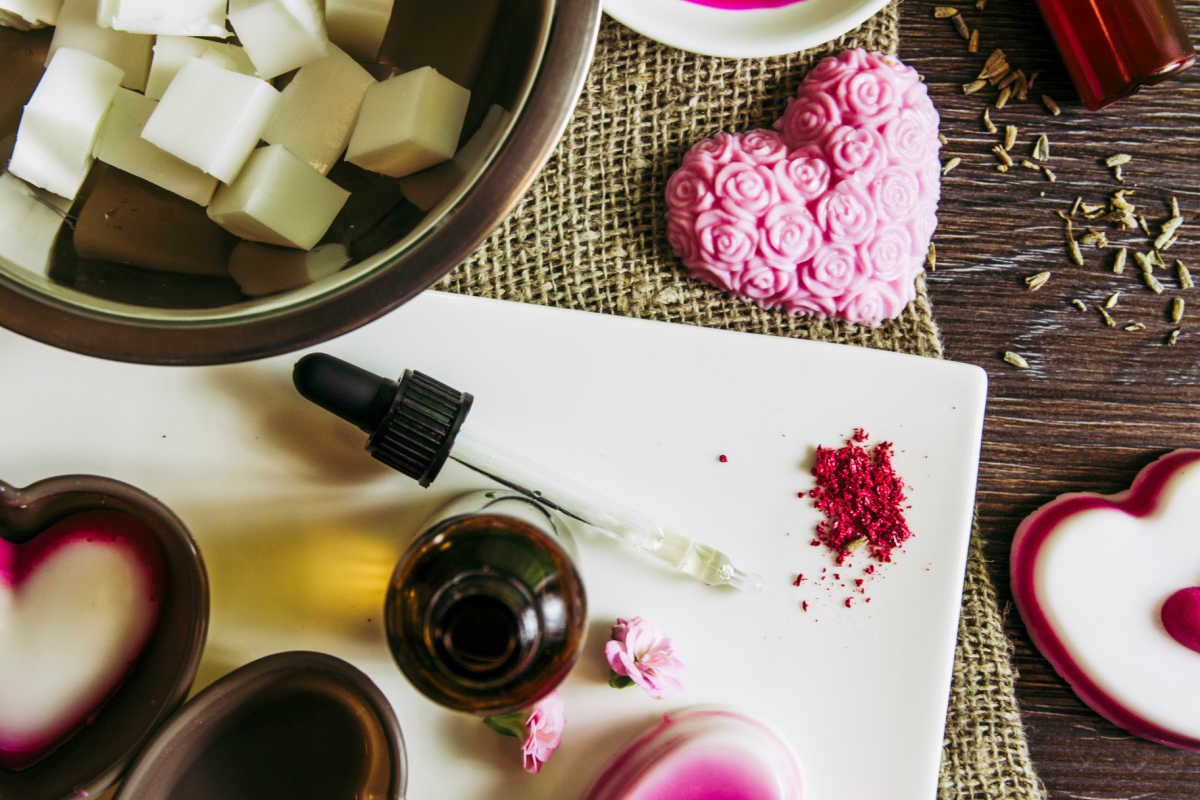
- Creative Shapes: Molds come in lots of fun shapes! You can buy molds that make basic rectangle bars, or you can find molds shaped like flowers, hearts, or even animals. This lets you make your soap look extra special, especially if you plan to give it away as a gift.
- Sizing: Before you start, check how much soap (in weight, like ounces or grams) each hole in your mold holds. This helps you know exactly how much soap base you need to melt so you don’t end up with too much or too little!
Getting the Color Right: Soap Coloring Tips
Adding color is one of the most fun parts of making your own soap, but the colors you use for painting won’t work!
- Use the Right Stuff: For soap, you need special soap colorants. These often come as liquid dyes or fine powders (like mica). They are made to mix well with soap and keep their bright color without fading.
- How Much to Use? Start with a very tiny amount—you can always add more, but you can’t take it away! One or two drops of liquid color is usually enough for a small batch. If you’re using a powder, just dip the tip of your stir stick in the powder and swirl it into the melted soap.
- Swirling: For a marbled or swirled effect, add a few drops of color, stir it just once or twice (don’t mix it all the way in!), and then pour it into your mold. This gives your soap a beautiful, artistic look!
The cost of making soap at home
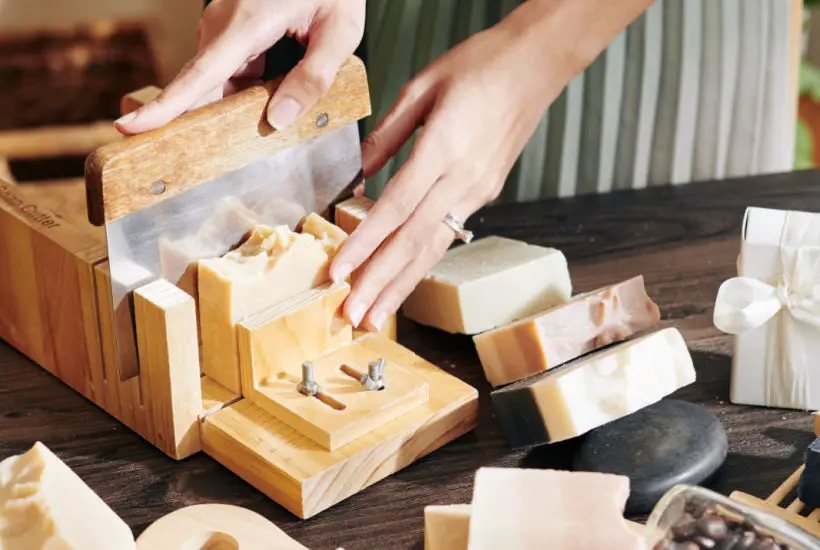
Since we are practically frugal over here, soap making is not just about the fun of learning something new and producing a useful product to replace the need for buying it in the shop, but it’s also about being smart with money. It is without a doubt that a good quality handmade bar of soap could easily cost between £4-6 in an artisan shop.
And while I think it’s still a very good price for something handmade, it could add up if you are buying just artisan soaps all the time. In comparison to that, if you buy a basic soap in a supermarket, you won’t spend much more than 50p – £1.
Now if you compare it to a soap you make at home you will definitely save money on good quality soap, but you will have higher set up cost. You will need to get ingredients for more than one soap and probably get some basis utensils that you might not have at home already (like a separate melting jug, soap moulds etc.).
Saying that a homemade soap still should be affordable to make and no more than a £1 bar.

Can you put perfume in homemade soap?
It sounds lovely, doesn’t it? The idea of making a bar of soap with your favourite perfume. But sadly, the soap ingredients would negatively react with the perfume, and you would end up with either a soap that won’t smell at all of the perfume would be broken into a different smell altogether. And it might not be even pleasant.
It’s best to use a specialist soap making essential oils and fragrance oils for soap making only. These are not particularly expensive, and you can create your own fragrance.
Homemade soap shelf life & storage
Cold processed soaps need to be cured for about 4-6 weeks after removing from moulds. Afterwards, the soap lasts for a few months. Later you might notice the loss of fragrance and the soap might dry up a little.
Poured soaps can be used straight away and will last for several months.
To get the longest shelf life from your soaps, wrap them in a cling film or parchment paper and keep them somewhere cold and dry.
Wrapping Your Soaps for the Perfect Gift
Once your homemade soaps have hardened and popped out of the molds, they look ready, but they need to be wrapped to stay fresh and look like a real gift! Melt-and-pour soap contains glycerin, which is great for your skin but it also likes to grab moisture from the air. If you leave the soap unwrapped, it might start to look like it’s “sweating” with tiny water droplets.
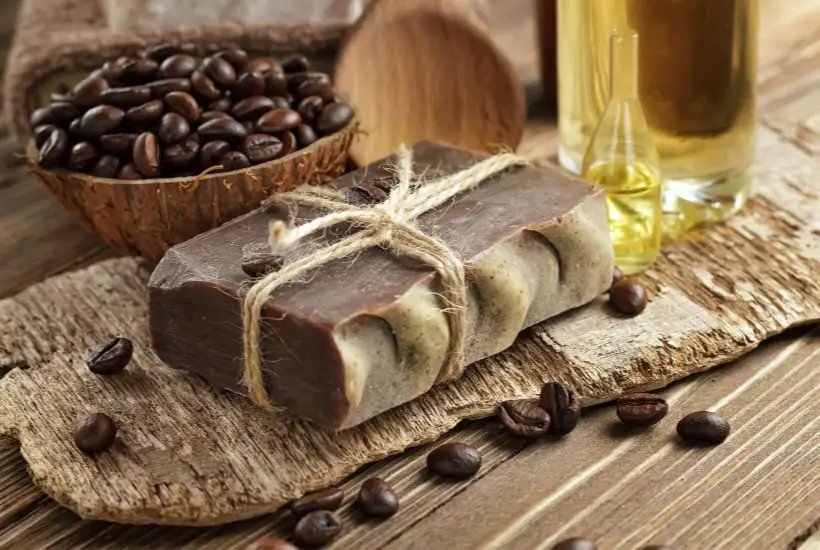
The easiest way to wrap them is using simple plastic wrap (like cling film) or a piece of wax paper. Wrap the soap tightly and tape it closed. To make it look fancy, add a simple paper band around the middle, tie it with a piece of twine or ribbon, and attach a small, handwritten tag that says the flavor (like “Homemade Lavender Soap”). This simple step makes your soap look professional and keeps it fresh until your friend or family member uses it!
Stay in touch
Hope this post inspires you to make your own natural cosmetics and if you do, I’d love to what you think! Let me know in the comments below or find me on Instagram, Facebook or Twitter and add the hashtag #practicalfrugality so that I can see your post.
Or why not subscribe to my weekly newsletter with frugal living tips and recipes straight to your mailbox.
Magdalena
This blog post was originally written on 23 January 2020 and last updated on 15 November 2025.