Almond & Oatmeal Soap – Easy Melt & Pour Recipe
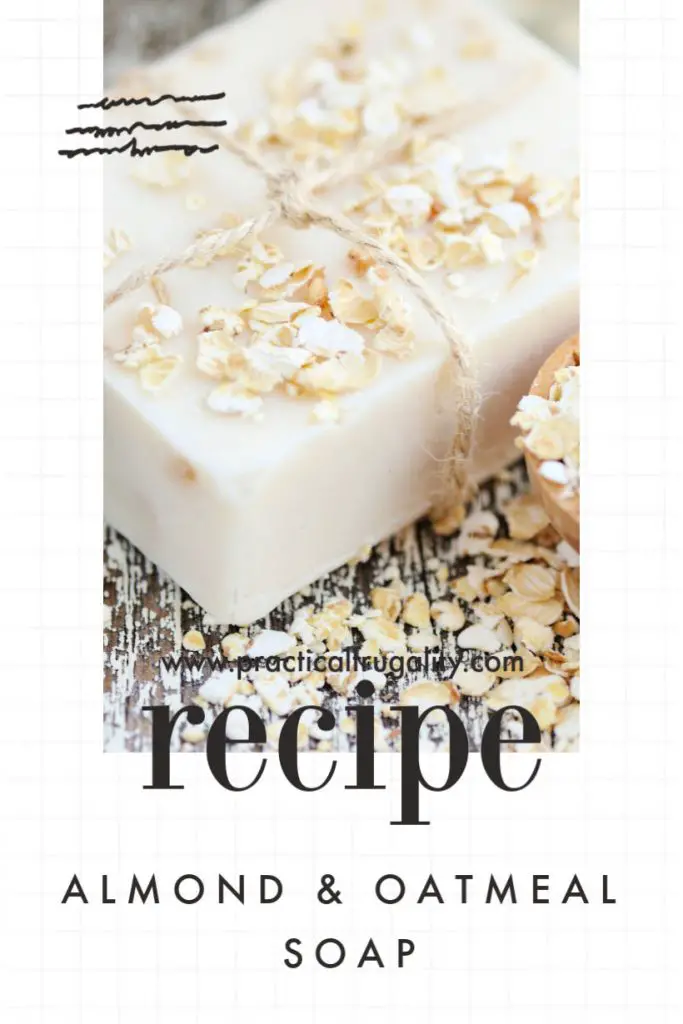
Easy recipe for homemade Almond & Oatmeal Soap. A calming almond fragrance with gentle exfoliating oats will leave your skin nourished and smooth.
Oatmeal soap is wonderful at helping to exfoliate your skin, so I think that you will like this almond oatmeal soap recipe.
It is a simple recipe that uses a melt and pour goat’s milk soap base. Perfect for those beginning to dabble into soap making or even those of you who are already into it but prefer not to use lye in your handmade soap.
PIN TO KEEP FOR LATER
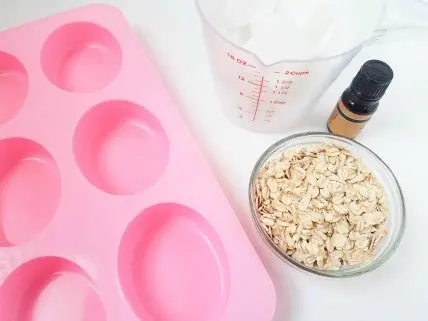
Ingredients & Supplies you will need
- ¾ pound (330 g or about 1 1/2 cups) melt & pour goats milk soap base
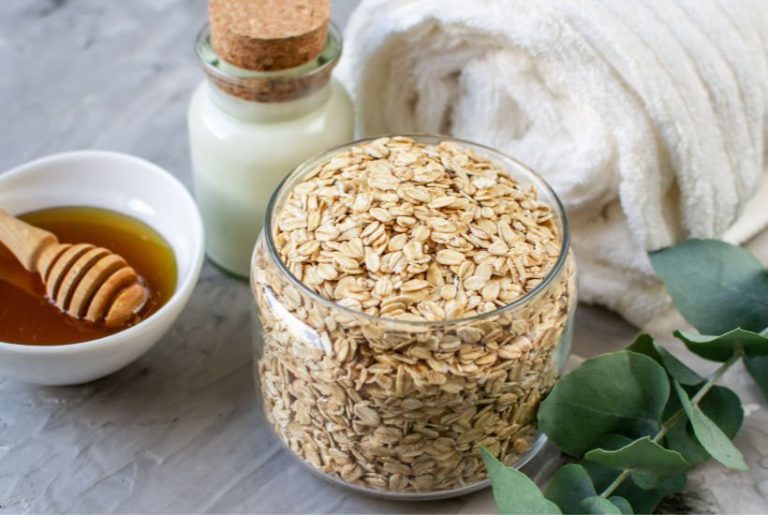
- 1/2 cup natural rolled oats (breakfast large oats)
- 20 drops almond fragrance oil
- Oval Silicone soap mould
- Large Pyrex measuring cup
- Wooden stir stick
- Rubbing alcohol in spray bottle (optional)
My practical tips to help you to make your soaps successfully
If you are completely new to soap making, I’ve put together a simple step by step soap making guide, that will get you started.
All you need for this recipe is just 3 simple ingredients and you are on your way to making this lovely homemade soap.
The chances are that you might already have one of these ingredients at home – the oatmeal!
You probably won’t have the goat’s milk soap base, but it can be inexpensively bought online. I buy mine soap base in bulk online in slightly large quantities to help me to save, as I use my handmade soap at home instead of buying them from shops.
If you wan’t to, you can leave out the almond essence, but I think it works wonderfully with the natural smell of oats and the milk, so I always add it in.
It’s best to buy a good quality almond essence specially designed for soap making, as other brands, might not be strong enough to make a difference in your soap.
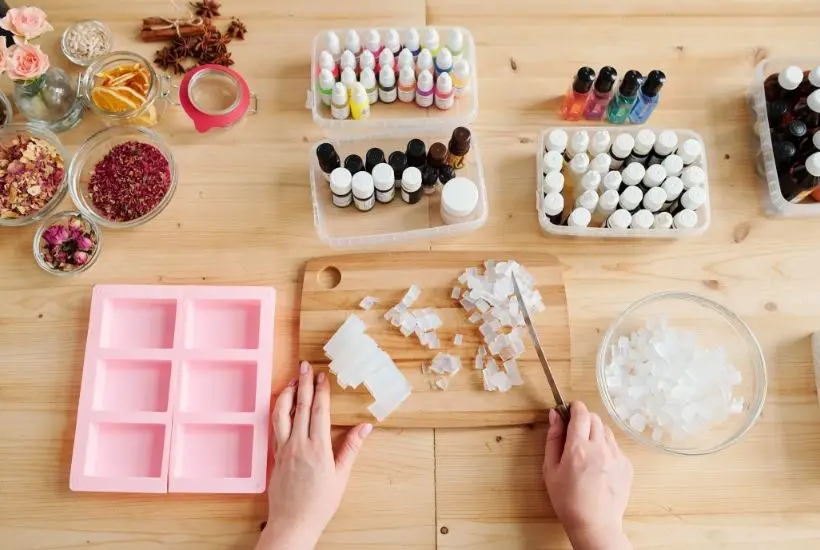
Tips for choosing your soap moulds
And finally, you’ll also need some kind of soap mould. I’ve used silicone oval soap mould for this tutorial, but you can use any shape or style of mould you like.
The silicone moulds are great because you can get the soap out very easily when it’s set. You can also re-use them indefinitely! Just wash them after a use with a mild washing up liquid and store for next use.
If you didn’t have a soap mould or didn’t want to buy one, you can also use any deeper tray and line it with a baking non-stick parchment.
Once you pour your soap in and leave it to set, use the baking parchment to lift the soap out. Cut to the desired size with a sharp knife and your soap is ready!
This one is perfect for gift giving too since the fragrance is very light and will appeal to most people, including people with sensitive skin.
The oatmeal in this recipe, together with the goat milk will moisturise your skin and can help to calm down mild eczema and other skin problems.
MORE DIY SOAPS
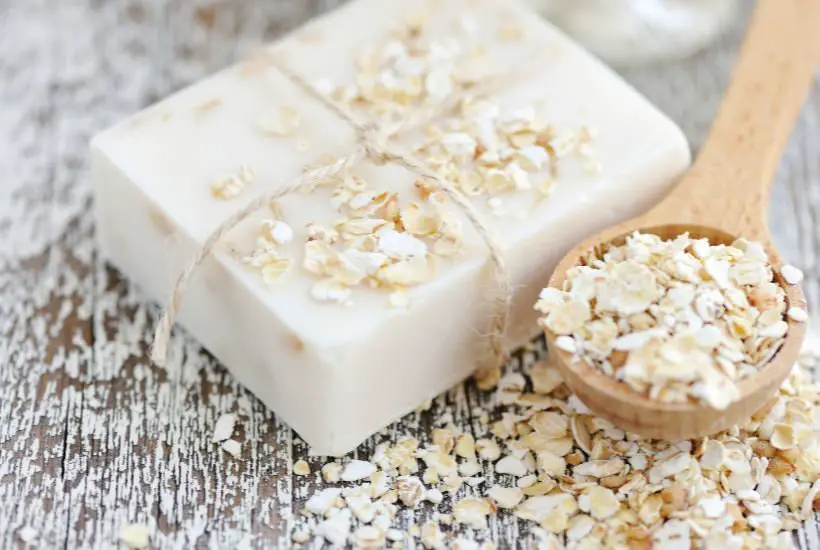
How to make my Almond & Oats Soap recipe at home
STEP 1
Melt the soap base in the microwave for 30 seconds. Stir gently. If it is not completely melted, put it back on for another 10 seconds at a time until fully melted.
STEP 2
Add the rolled oats to the soap base. Mix well.
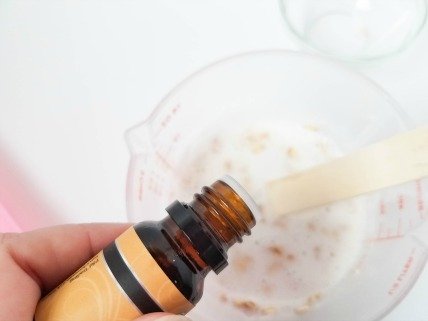
STEP 3
Add the almond fragrance oil. Mix again.
STEP 4
Poor into the silicone mould and let set for about an hour in a room temperature.
STEP 5
Spray lightly with rubbing alcohol, to help prevent bubbles from forming (this is optional)
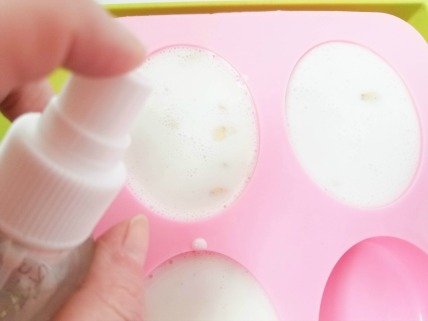
Notes: Makes 6 oval bars if using the same mould, but you can use any soap making mould that you have at hand.
Troubleshooting Common Melt and Pour Challenges
As simple as the melt and pour process is, you may occasionally run into minor challenges. The most common issue is the formation of surface bubbles after pouring, which can easily be resolved by spritzing the surface of the poured soap lightly with rubbing alcohol (Step 5).
If you notice your added oats are sinking to the bottom of the mould, it likely means you poured the soap base while it was too hot. Wait a few moments for the base to cool and thicken slightly before pouring—it should still be liquid, but noticeably cooler. Finally, if you are attempting layered soaps, the layers may not stick together; a quick spritz of rubbing alcohol on the surface of the first layer before pouring the second will ensure a strong bond.
Tips for Safely Melting Your Soap Base
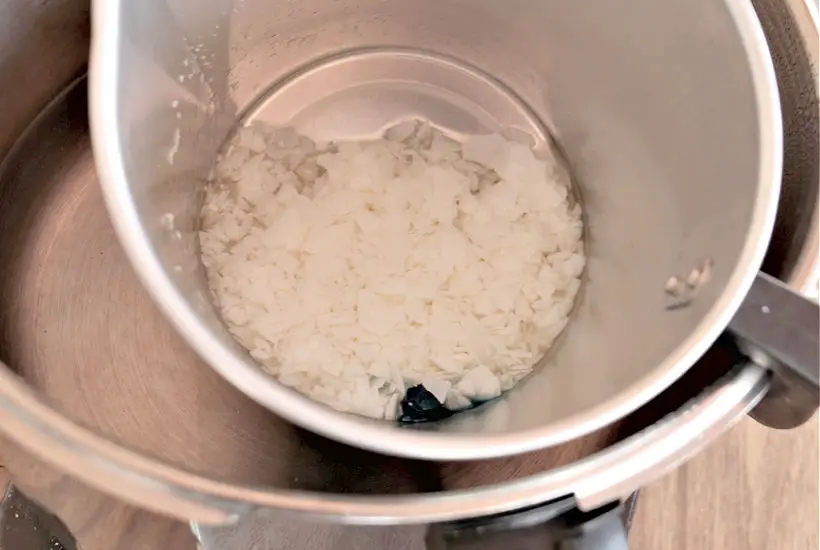
The key to a smooth, beautiful melt and pour soap is a slow, controlled melt. While the microwave is a fast and convenient method (as outlined in Step 1), it’s crucial to use it with care. Never let your soap base boil.
Overheating or boiling the soap base can scorch the glycerin, which changes the soap’s structure, causing it to become grainy, lose clarity, and potentially decrease its lathering ability. The goal is to melt it just until it’s liquid, which is why we recommend short, staggered bursts of 10-30 seconds.
Alternatively, you can use a double boiler method (a glass bowl placed over a pot of simmering, not boiling, water). This gives you gentler, more even heat and minimizes the risk of overheating.
More tips for making almond & oatmeal soap
How much oatmeal do you put in soap?
You can see I’ve used 1/2 cup (65g) of oatmeal for 3/4 pound (330 g)of my goat’s milk soap base. This means that the milk base is about 5 times more than the oatmeal.
But, the good thing is that you don’t need to worry about the exact measurements for this. Obviously, you don’t want to add too much oatmeal that the soap base will be so thick you can’t steer it.
Equally you want to make sure there is enough oatmeal, so that the soap has all the calming properties, I’m mentioned at the beginning of this tutorial.
What kind of oatmeal do you use for soap?
The oatmeal is adding texture to your soap, so you want to make sure it’s good quality. The best type to use is an organic (or natural) large whole oats.
And yes, they are the once you eat for breakfast or bake with. If you don’t have organic ones, don’t worry, any type will be fine, since you are not going eat them anyway!
You don’t want to use quick, ready made oats, or oats that are milled or cut too fine, as these might disintegrate too quickly and you won’t get as much benefit from them.
MORE DIY SOAPS

What are the benefits of oatmeal soap?
Oatmeal seems like an innocent ingredient, but there are so many amazing properties that oatmeal has, that I didn’t even know about!
It’s perfect for a normal to dry skin, but if you have a super sensitive skin or have skin problems, you should consult your doctor before starting to use this soap.
Oatmeal can soothe irritated skin and help to calm down itching.
It helps to moisturise your skin as you wash
It can help to calm down redness and acne
Oatmeal also contains Vitamin B, amino acids and saponin, which all work together to help our skin feeling cleaner, boost our blood circulation and also even out darker patches on our skin.
Unlike other soaps, you can safely use it on your face as it’s very gentle.
If you know that you’d like to use this handmade soap mainly for your face, I’d choose a smaller cut oatmeal oats, so that the soap is slightly less textured and won’t feel rough on your face.
You can put the oats through a blender or food processor to achieve a finer texture
MORE DIY SOAPS
Proper Storage and Curing for Homemade Soap
While melt and pour soap doesn’t require the lengthy cure time of cold process soap, proper storage is essential to maintain its quality and prolong its shelf life. Because the glycerin-rich goat’s milk base naturally attracts moisture from the air (a desirable property for skin hydration!), the finished bars can sometimes develop a phenomenon called “glycerin dew” or “sweating.”
To prevent this, once your soaps are completely hard and cool, wrap them immediately and tightly. Cellophane, plastic cling wrap, or a shrink wrap system are the best choices. Store your wrapped soaps in a cool, dry place away from direct sunlight. Storing them in a sealed container can also help keep them fresh, potent, and beautifully scented until they are ready to be used or gifted.
Understanding Melt & Pour Soap Shelf Life
Since melt and pour bases are already fully saponified (the chemical process of soap making is complete), they do not “go bad” in the traditional sense, provided they are stored correctly. The natural shelf life is primarily determined by the added ingredients, like the fragrance oil and the oatmeal. Generally, a well-stored melt and pour soap bar will be at its best for six months to one year.
Over time, the fragrance oil may begin to dissipate, and the natural oils in the oatmeal may slowly degrade, but the soap will still be safe to use. If you notice a significant fading of the scent or a change in the texture of the oatmeal, it’s a sign that the bar is nearing the end of its peak quality.
Stay in touch
Hope this post inspires you to make your own Almond & Oatmeal Soap and if you do, I’d love to what you think! Let me know in the comments below or find me on Instagram, Facebook or Twitter and add the hashtag #practicalfrugality so that I can see your post.
Or why not subscribe to my weekly newsletter with frugal living tips and recipes straight to your mailbox.
Magdalena
Almond & Oatmeal Soap (Melt & Pour Recipe)
Equipment
- Oval Silicone soap mould
- Large Pyrex measuring cup
- Wooden stir stick
- Rubbing alcohol in spray bottle (optional)
Materials & Ingredients
- ¾ pound 330 g or about 1 1/2 cups melt & pour goats milk soap base
- 1/2 cup natural rolled oats breakfast large oats
- 20 drops almond fragrance oil
Instructions
- Melt the soap base in the microwave for 30 seconds.
- Stir gently.If it is not completely melted, put it back on for another 10 seconds at a time until fully melted.
- Add the rolled oats to the soap base. Mix well.
- Add the almond fragrance oil. Mix again.
- Pour into the silicone mould and let set for about an hour in a room temperature.
- Spray lightly with rubbing alcohol, to help prevent bubbles from forming (this is optional)
Notes
Posts may contain affiliate links. If you purchase a product through an affiliate link, your costs will be the same but Practical Frugality will receive a small commission. This helps cover some of the costs of running this site. We appreciate your support!
This blog post was originally written on 23 May 2020 and last updated on 16 November 2025.