DIY Homemade Lavender Soap (Melt & Pour Base Recipe)
When I was growing up, my grandmother had a wonderful garden, which included lots of different flowers neatly planted in rows. As kids we were not really allowed into that part of the garden, I suppose because our grandmother was worried that we would damage the beautiful flowers which she often used to make flower displays.
She would disappear into the garden and when she came back she would have the most amazing flower combinations of tall flox flowers, fragrant roses and other colourful plants.
I remember once I asked what was the name of the particularly fragrant flower and I was told it was lavender. The smell was so divine and you could smell it around the whole farmhouse.
PIN TO KEEP FOR LATER

I was remembering my grandmother recently and thought about recreating that lovely lavender scent in handmade soap.
I found several recipes online, but none seemed like what I was really looking for, so I tried a few different combinations of recipes: some ideas from my other handmade soaps, using some of the supplies I had on hand, and came up with this lavender soap recipe. It works great for me, so I hope you enjoy it as much as I do!
This lavender soap recipe is quick and simple to make, and smells divine! This is also a great homemade gift idea for your friends and family.
MORE HOMEMADE SOAP RECIPES

My practical tips to make your homemade lavender soap
This DIY Handmade Lavender Soap Recipe is pretty quick and easy, great for beginner soap makers like me! It would make a great homemade gift idea for a birthday, shower gift, Christmas gift, etc. or also be fun to do as a craft night with some friends!
I’ve used melt and pour soap base, which as the name suggest just involves melting, mixing and pouring into mould. But there are still few things that can go wrong, so make sure that you follow my recipes – especially for the melting part.
The amount of raw ingredients you need will vary depending on the size of your mould. These measurements are what I used with the long soap mould I have already at home, but you don’t have to use all of the mould cavities if you want to make smaller batches.
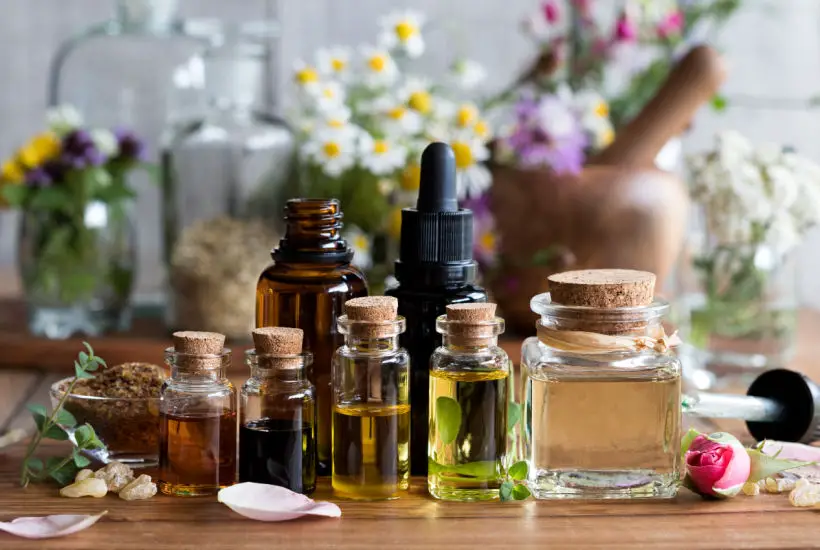
DIY Handmade Lavender Soap Shopping List
Posts may contain affiliate links. If you purchase a product through an affiliate link, your costs will be the same but Practical Frugality will receive a small commission. This helps cover some of the costs of running this website. We appreciate your support!
- Melt-and-pour soap base (I buy mine here)
- Lavender essential oil – there are many brands available, but this lavender oil is suitable for soap making
- Dried lavender buds – I can get these locally, but the price is better at Amazon, and this brand works well for me.
- Purple Soap Colouring (you only need a few drops, so they last a long time, I have this soap colouring set)
- Mortar and pestle
- Homemade Craft Soap Mould (buy on Amazon)
- Food Scales
- Cutting board and knife
- Microwave safe jug, or glass bowl and saucepan
Don’t be intimidated by the quantity of product, it’s just a few ingredients that are pretty versatile and can be used for many other projects.
I use the essential oil for many things, including diffusing it, and the dried lavender buds are also great for homemade potpourri!
What I love most about making my own soaps is that I can control the ingredients and the quantity I make in each batch.
I try to make really small batches when I’m experimenting with ingredients so I’m not wasting them. Feel free to adjust, add, or subtract items that don’t work for you.
To make one bar of Homemade Lavender Soap, I used
- 3.5oz/100g melt-and-pour soap base (with shea butter)
- 1 tablespoon of lavender buds
- 2-3 drops of lavender essential oil, depending on how strong you want the scent to be
- 1 drop of purple colouring (from this soap colour set)
MORE HOMEMADE SOAP RECIPES
How to work out the quantities for your soap base
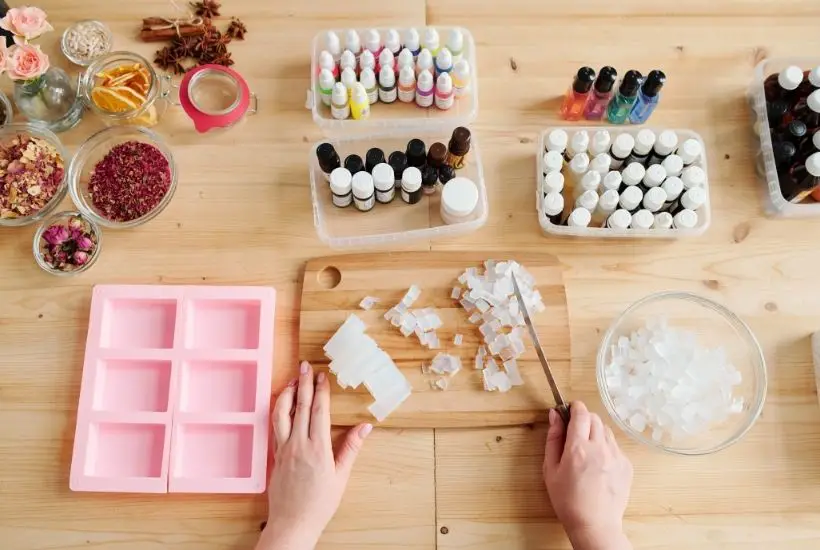
To determine how much melt-and-pour soap base you will need, the easiest method is to weigh out how much water fills your chosen mould to the desired height you would like your soap to be.
My mould holds 100g of water per rectangle (3.5 oz). I have a food scale that I use to weigh it out. Once you’ve done it a time or two, you can probably eye it pretty close.
Cut off your required amount of soap from the block and chop it into small pieces so it will melt evenly. Meanwhile, grind some lavender for mixing into the soap.
I’ve included the lavender soap recipe for a small number of mini soaps for 100 g, so that you can easily multiply the quantities and make large amounts.
Lavender soap quantities depending on size you’d like to make
- 100 g soap base
- 1/2-1 tablespoon lavender buds
- 1 tiny drop of purple colour
- 2 drops of lavender essence
- 300 g soap base
- 2 tablespoon lavender buds
- 1 drop of purple colour
- 6 drops of lavender essence
- 500 g soap base (1lb)
- 3 tablespoon lavender buds
- 1-2 drops of purple colour
- 10 drops of lavender essence
Preparing the lavender
Grinding the lavender buds releases the essential oils so it becomes more fragrant, and has additional exfoliating properties. Grind them using a mortar and pestle until they have broken down into pieces, it smells so good!

The soap making process – step by step
STEP 1
Measure out your soap base and put it in a microwave safe jug or bowl.
STEP 2
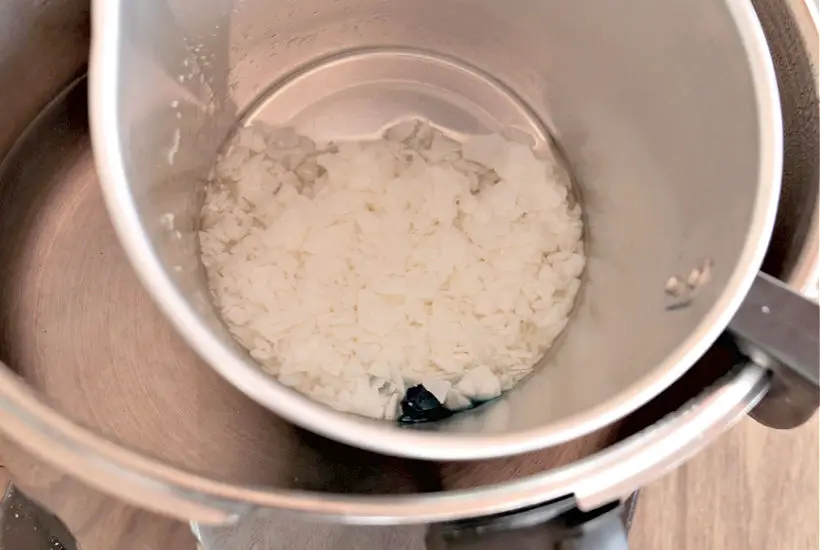
Next job is to melt the soap base. This needs to be done very slowly. Some packages have instructions, some don’t.
In case your package doesn’t have instructions, here is what I normally do. I melt mine putting it in a microwave-safe bowl, covering it, and running it in 20-30 second intervals if I’m melting a large (500g) piece of melt and pour soap base.
For the lavender recipe I’ve included only small amounts, so you need to be very careful how you melt it. I only place the melt and pour soap base in for 10 seconds at a time.
STEP 3
Next, I add my lavender essential oil, purple soap colour and ground lavender buds stirring well. When it’s all combined, just pour into your soap mould.
STEP 4
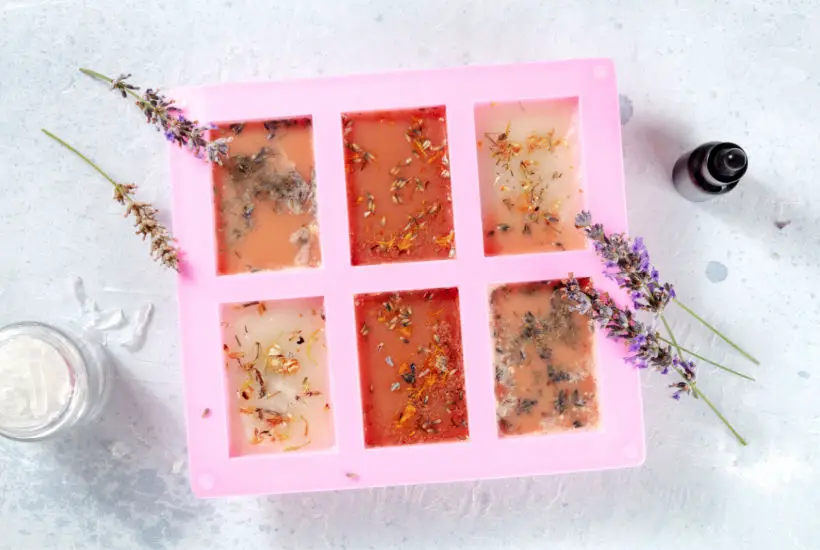
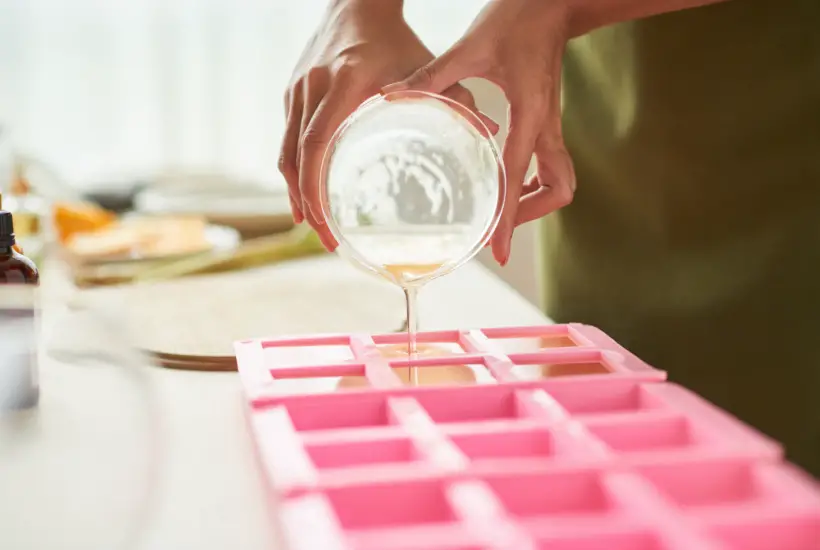
Finally, you simply allow the soap to harden and set, then remove from the mould.
STEP 5
You can wrap the soap in pretty paper if you’re gifting it, or I store mine in a soap container in my bathroom.
MORE HOMEMADE SOAP RECIPES
My extra tips for making your homemade lavender soap
Different kinds of lavender you can use
The kind most people use for its calming scent is called English Lavender (Lavandula angustifolia). This type has the sweetest, most relaxing smell, which is why it’s great for soap that helps you sleep! There’s also a type called Lavandin, which is a mix of two kinds of lavender. Lavandin smells stronger and more like camphor (a bit minty), and it’s often used in cleaning products. When you are buying your essential oil, look for the English Lavender one for the best, most calming scent in your soap.
Notes on safety (Super important for beginners!)
Even though melt-and-pour soap is safe, we still need to be careful!
When you are melting the soap base, remember it gets hot. You should always use oven mitts or a towel to hold the jug or bowl when you take it out of the microwave or off the stove. If you get hot melted soap on your skin, run it under cool water right away, just like any other minor burn.
Also, be careful with the essential oils. Remember that essential oils are very strong and concentrated. Only use the amount the recipe says, and never put them directly on your skin without mixing them into the soap base first. Always keep the little bottles put away safely, especially away from younger kids or pets.
Troubleshooting common mistakes
Sometimes, when you’re making soap, little things can go wrong! Don’t worry, they are usually easy to fix.
- Bumps or Bubbles on Top: If you see tiny bubbles forming on the top of your soap after you pour it into the mold, you can spray the surface with a quick mist of rubbing alcohol (the kind you use for first aid). The alcohol will make the bubbles disappear like magic!
- Soap is not Melting: If your soap base is taking a long time to melt, you might have cut the pieces too big. Next time, try chopping them into smaller, nickel-sized cubes. Also, make sure you are melting it slowly. If you heat it up too fast, it can burn or get a weird, rubbery texture.
- Scent is Gone: If your soap doesn’t smell as strong as you wanted, you probably added the essential oil when the soap base was too hot. Wait until the soap base has melted, but is starting to cool down a little bit, then stir in your essential oil. Too much heat can make the scent float away!
Curing and Storing Your Finished Soap
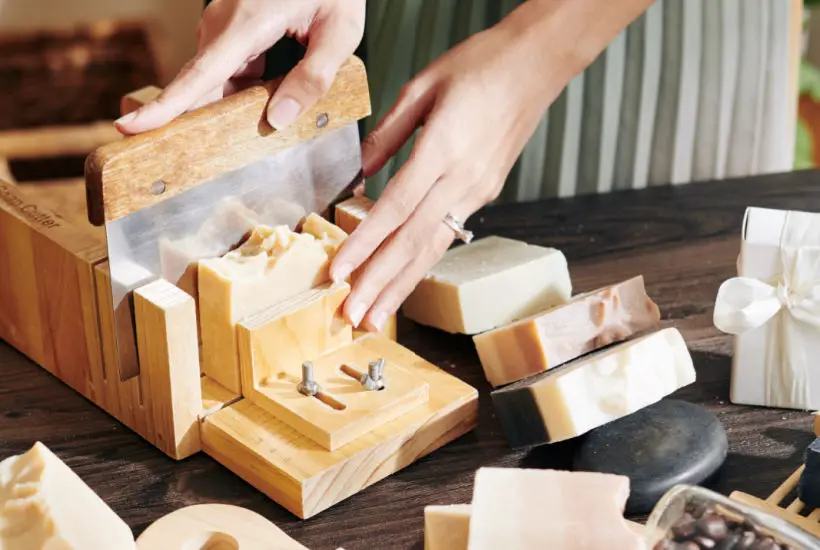
Once your beautiful lavender soap is solid and you pop it out of the mold, you might think it’s ready to use right away. And you’re right! Melt-and-pour soap can be used right away, which is a big reason it’s great for beginners.
However, many soap makers like to let the soap sit out for a day or two before wrapping it. This is called curing or drying the soap. It lets any extra moisture evaporate, which makes your soap last longer when you use it. Just set it on a piece of parchment paper in a cool, dry place for 24-48 hours.
When you store your extra bars, make sure you wrap them up well. Plastic wrap or wax paper works great. This stops the glycerin in the soap from attracting moisture from the air, which can make the soap look like it’s sweating.
Is this recipe suitable to make with children?
Yes, absolutely! The melt and pour soap base is very safe to handle and it doesn’t include any harmful ingredients. You will need to supervise your children and help them to use the microwave.
The soap colours and essential oils are not toxic or harmful, but they are concentrated and you only need a very small amount, so again supervision is needed.
What type of soap base can I use ?
You can use any melt and pour bases, but they will change the properties of your soap. I think that this the best part of soap making – you can be really creative here.
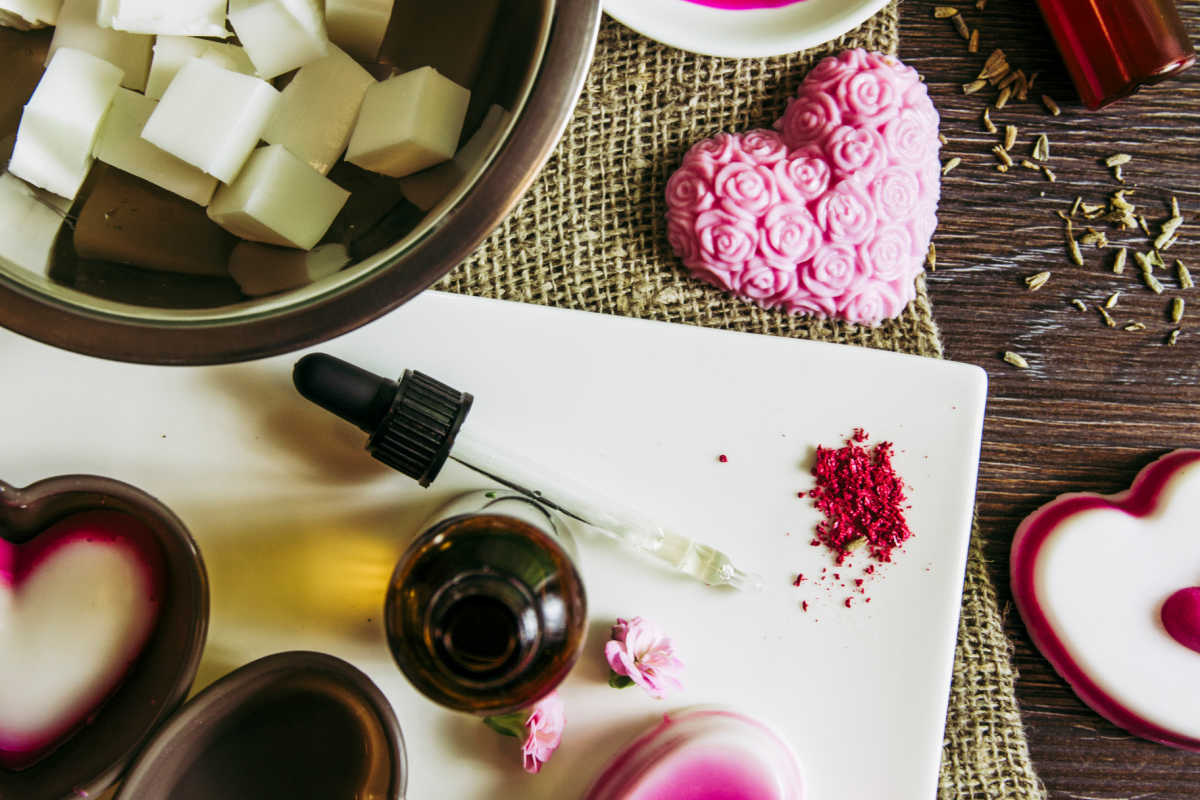
The goat’s milk soap base is very creamy and calming for skin, shea butter is perfect for dry skin as it’s very nourishing and glycerin soap bases are ‘see-through’ which will beautifully show off the lavender buds.
Do I need to use microwave to melt the soap base?
No, not at all! You can use a ‘double-boiler’ to melt the soap base. Double boiler – a bowl with the soap base set over a sauce pan with a low level of simmering water – is a good alternative to microwave and it’s gentle and slow enough to melt the soap base safely.

Can I use fresh lavender for my soap making?
I wouldn’t advise to do this, as this would introduce extra moisture into the soap and your soap could end up mouldy. Dried lavender is much stronger in essence and it takes next to no time to dry it yourself.
You can use any kind of lavender for this project, but I wouldn’t use culinary lavender as it would be a bit of a waste (culinary lavender is more expensive and since we are not going to eat our soap, it’s perfectly fine to use lavender from your garden or shop bought)
To dry your lavender quickly, pick a few stems and take the lavender buds off. Place them on a clean kitchen paper towel and leave to dry naturally away from the sun or direct sunlight.
Do I have to use lavender buds in this soap?
No, not at all. The lavender buds provide extra fragrance and they also gently exfoliate your skin as you wash, but if you don’t have any lavender buds, don’t worry, you can still make this soap with lavender fragrance and purple soap colouring.
Is lavender soap good for skin?
Yes, absolutely! Not only that lavender smells so good, but it also has a natural antibacterial properties. The dried lavender buds will gently exfoliate your skin and help to heal irritated skin. Lavender is also very soothing, so having a bath or a shower after a long day will help you to sleep better.
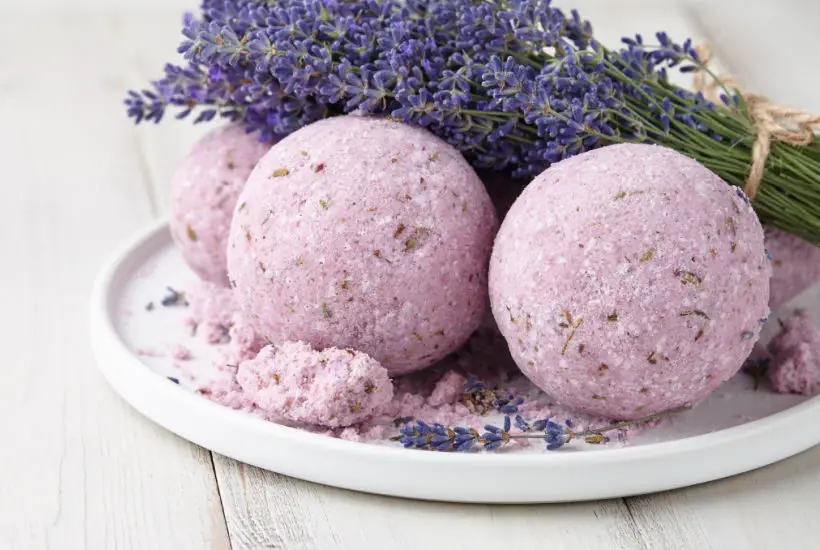
Does lavender soap help you sleep ?
Yes, lavender can help to get you off to sleep. You can take a shower or batch and use your lavender soap or lavender bath bombs. If you don’t want to have a bath before bed, you can also place your homemade lavender soap under your pillow.
Stay in touch
Hope this post inspires you to make your own lavender soap and if you do, I’d love to what you think! Let me know in the comments below or find me on Instagram, Facebook or Twitter and add the hashtag #practicalfrugality so that I can see your post.
Or why not subscribe to my weekly newsletter with frugal living tips and recipes straight to your mailbox.
Magdalena

Homemade Lavender Soap (Melt & Pour Base Recipe)
Equipment
- Silicone Soap Mould (with 6 or more cavities)
- Measuring jug suitable for microwave use
- Pester & Mortar (to crush the lavender buds – optional)
Materials & Ingredients
- 3.5 oz melt-and-pour soap base with shea butter (this is about 100 g)
- 1 tablespoon of lavender buds
- 2-3 drops of lavender essential oil depending on how strong you want the scent to be
- 1 drop of purple soap colour
Instructions
- Weigh the melt and pour soap base and put into a measuring jug.
- Melt very slowly in microwave for 10-20 seconds at a time.
- Add a drop of purple soap colouring
- Add lavender essential oil and ground lavender buds stirring well.
- When it's all combined, just pour into your soap mould.
- Finally, you simply allow the soap to harden and set for about 60 minutes, then remove from the mould.
Notes
This blog post was originally written on 10 October 2020 and last updated on 14 November 2025.



I’ve tried to make this lavender soap at home with my French lavender and it worked a treat! Thank you for sharing this diy, especially the different quantities as my soap mould was a completely different to yours.
I’ve looked at other recipes, but thank you for explaining so well about the melt and pour soap making process. I always get confused about this. I didn’t have any purple colour, so I used blue instead. Next time I’m going to use a glycerin soap base.
I love lavender and always made my own homemade gifts. I’ve really enjoyed making this lavender soap – I send it to my sister by post and it arrived safely and she loved it!