I always thought that soap making is quite complicated and you need to have a lot of equipment and specialist ingredients to make the soap. While some of this is true (you can’t get away from not using particular specialist ingredients like lye), the process of soap making is relatively simple.
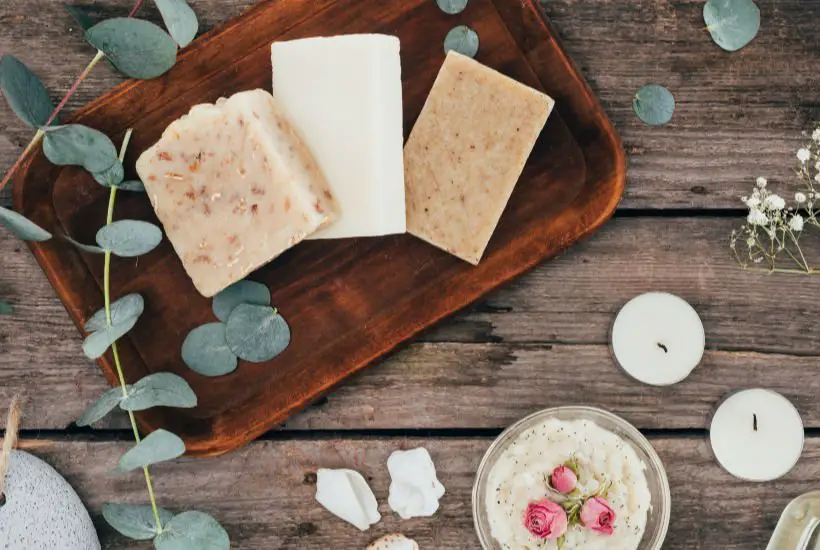
And the best thing, of course, is, that soap making is so satisfying! I love that you can choose any colour, essence and even add natural ingredients, fresh fruit or dry flowers to make every batch completely different.
Today, I wanted to share with you my ‘easy to make – three ingredients only’ soap.
In this recipe I will be following so-called ‘cold process’ soap making, which has one major snag! The soap needs to ‘cured’ when you finish making it for a minimum of 6 weeks.
If you want to make and use your soap today, you can use other soap making methods, which I’ve mentioned in my soap making resources for beginners.
Once you start with your own soap making it’s a relatively easy type of craft to master, you just need to be careful, measure everything precisely and don’t rush. It’s also a very therapeutic process and you end up with beautiful soaps, which only save you money, but can be also used as lovely gifts.
It’s also good to know what exactly goes into your soap, so if you or your family have any allergies, you can easily make a soap that will suit you.
Cold process soap base
Ingredients
170 g of good quality oil (e.g. coconut or olive oil)
50 ml water (ideally distilled or purified water)
20g of lye (100% sodium hydroxide)
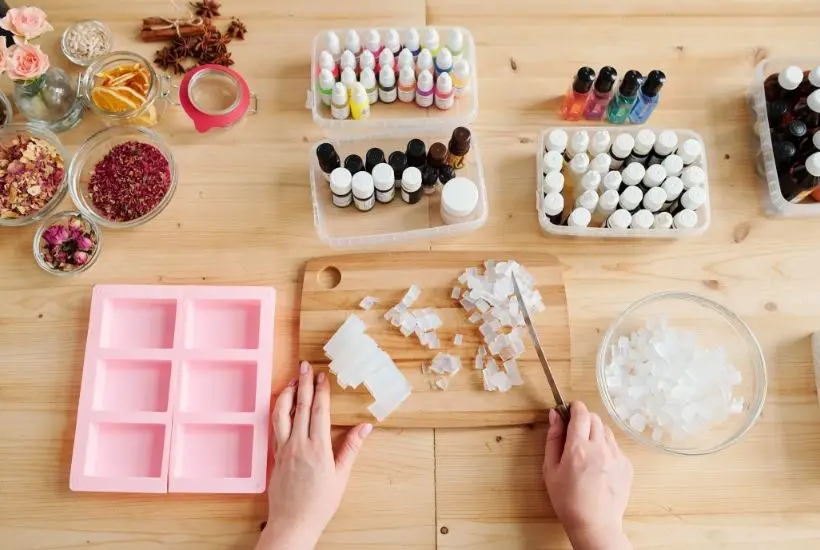
Optional: essences or dry flowers or other ingredients, soap colourings
Instructions
- Carefully weigh out all three ingredients.
- Slowly pour the lye into the water and stir until it’s fully blended.
- Set the mixture aside and let it rest.
- The mixture will heat up and fume at the same time, so make sure you don’t breath it in.
- Next warm up your oil in a separate bowl. This probably best in a microwave as it’s such a small amount, but you can also use the hob.
- The following step is very important – you need to make sure that both mixtures (oil and the water with lye) are around 44C or 110F. It’s best to use a digital thermometer for this.
- Slowly pour the lye and water mixture into the oil mixture.
- Stir gently with a fork or a spatula for 5 minutes or so. Y
- If you wanted your soap to have a creamier texture, you can use a hand held mixer to whip the soap.
- When the soap is ready it will thicken and look like a sloppy porridge or a pudding.
- Now that you have your soap base, you can get creative with colours, fragrances and dried flowers or other ingredients.
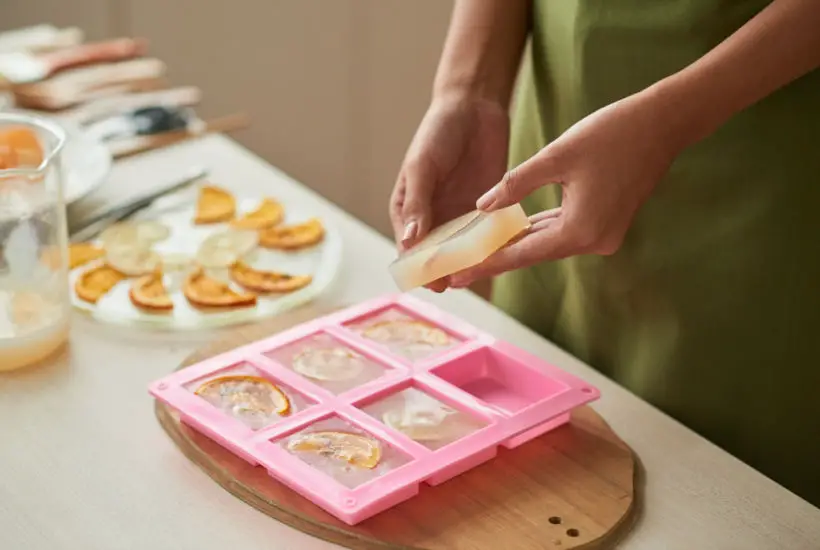
- Pour into soap moulds.
- Wrap the filled soap mould in clean plastic and leave it to rest in dark place for 2 days. Cover it with something if you can’t find a very dark place to keep your soap.
- After 2 days, you will be able to turn the soap out of the mould and on to either drying rack or baking tray.
- Make sure you space out the soap to allow air to circulate.
- Let the soap to dry and cure on the rack for 5 weeks before using.
- Afterwards they will keep fairly indefinitely, but it’s best to keep them individually wrapped and in an airtight container to prevent further drying out.
Practical tips on making soap using the cold process
The types of oil you can use
You can use any type of natural oil you like and even mix them together. This includes: olive oil, coconut oil, avocado oil, cacao butter, jojoba, grapeseed or even basic lard (for baking or frying).
Additional ingredients to use
Since you are going into all the work of making your own soap, you’ll probably want to keep things natural and environmentally friendly. You can use any natural colours like cocoa powder (dark brown) or cinnamon spice (light brown), turmeric (yellow) or beetroot (red).
You can also use any oil based essential oils to add beautiful smell to your handmade soap.
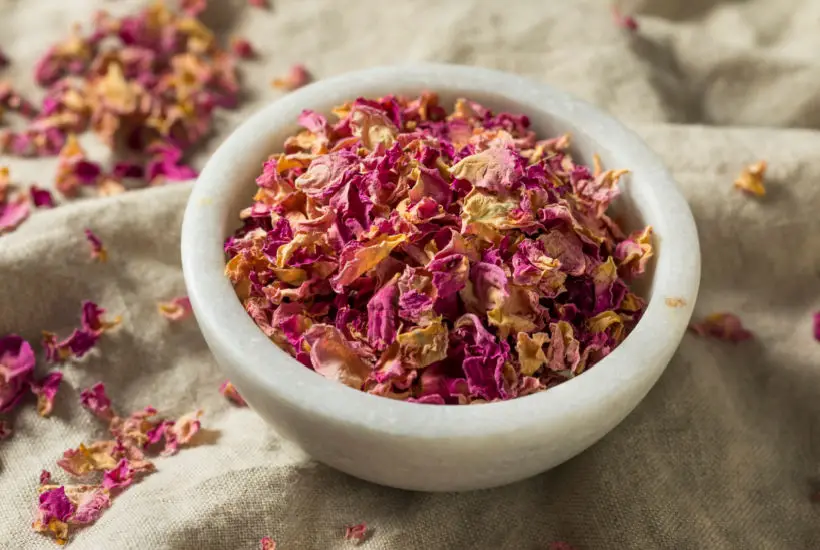
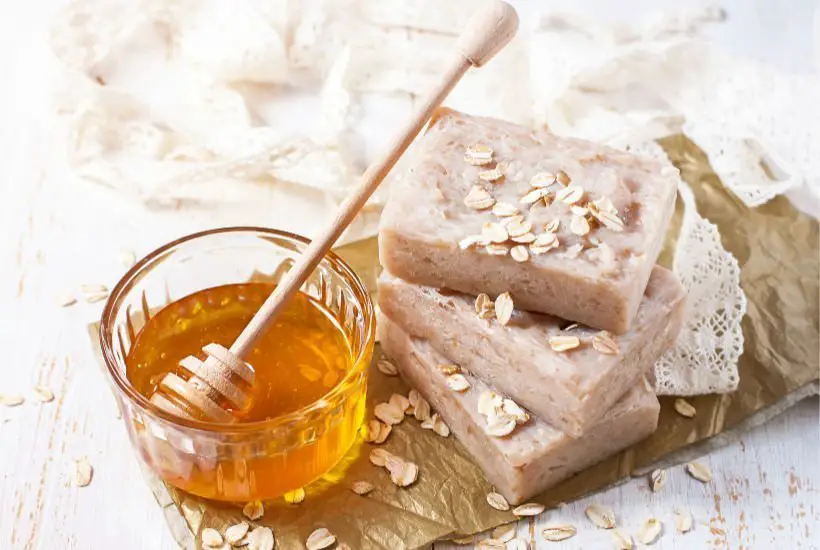
Dried or pressed herbs or flowers or dried fruits are often added to the top of the soap to make them look pretty.
And finally, you can also add ingredients that will turn your soap into a mini spa treatment! By adding oatmeal oats, different types of sea salt or rougher ingredients like coffee grinds, your soap will help to exfoliate your skin as you use it.
The options here are truly endless!
Changing the base ingredients
Unfortunately, there are not many substitutions for the lye (100% sodium hydroxide), which then means that the soap needs to be cured for at least 5 weeks before it’s safe to use.
If you want to make and use your soap on the same day, you can use ‘melt and pour’ process using a ready made up soap base. Just to let you know that many soap bases are made with lye, in case you are trying to avoid it.

Take extra care when making your cold processed soap
Please, please be careful when making your own soap at home, especially if you are working directly with lye in soap making. It’s a chemical ingredient after all and can cause serious burns to your skin.
It’s best to use protective eye goggles and plastic gloves and work in well-ventilated area. Even if it’s cold, open your window and never ever breathe in when you are standing over your lye mixture. Make sure you wash your hands and arms after you finish your soap making.
This is particularly important at the stage when you are mixing the water and lye. When you get to the bit, where you mix the water & lye mixture to the oils the lye goes through a process of cooling down and you don’t have to worry too much about the lye vapours.
Make sure you have equipment and materials just for your soap making
To prevent any cross-contamination with your food preparation or other kitchen equipment, it’s best to use separate utensils for your soap making. Make sure you use separate soap moulds, stirrers, glass mixing jugs and bowls and an electric handheld whisk. It’s also important to have a calibrated digital thermometer and digital scales.
Other homemade beauty products you can make at home
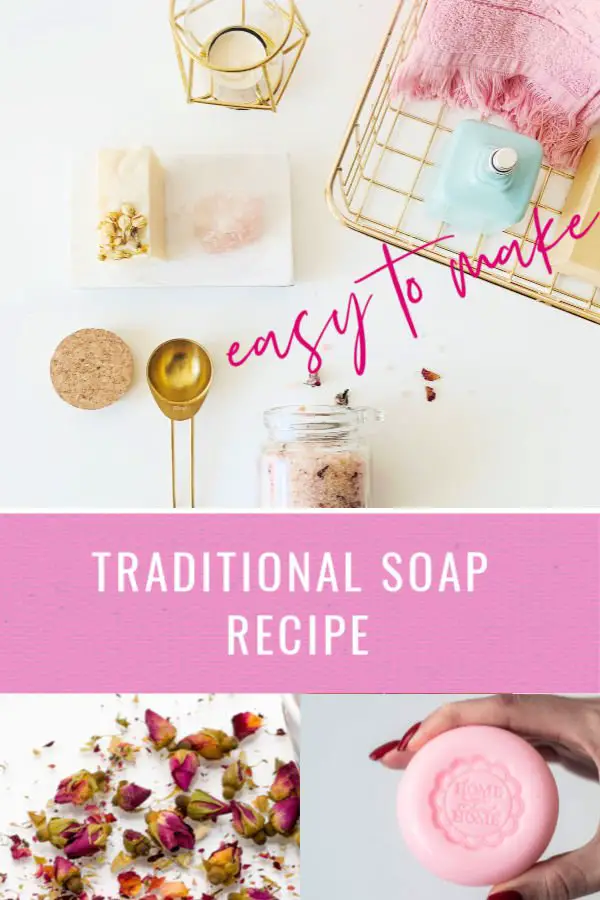
PIN THIS FOR LATER
Stay in touch
Hope this post inspires you to make your own natural cosmetics and if you do, I’d love to what you think! Let me know in the comments below or find me on Instagram, Facebook or Twitter and add the hashtag #practicalfrugality so that I can see your post.
Or why not subscribe to my weekly newsletter with frugal living tips and recipes straight to your mailbox.
Magdalena
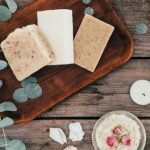
Cold process soap base
Materials
- 170 grams of good quality oil e.g. coconut or olive oil
- 50 ml water ideally distilled or purified water
- 20 grams of lye 100% sodium hydroxide
- Essences or dry flowers or other ingredients
- soap colourings
Instructions
- Carefully weigh out all three ingredients.
- Slowly pour the lye into the water and stir until it's fully blended. Set the mixture aside and let it rest.
- The mixture will heat up and fume at the same time, so make sure you don't breathe it in.
- Warm up your oil in a separate bowl. This is best done in a microwave as it's such a small amount, but you can also use the hob.
- Keep both mixutes warm and make sure that both mixtures (oil and the water with lye) are around 44C or 110F. It's best to use a digital thermometer for this.
- Slowly pour the lye and water mixture into the oil mixture.
- Stir gently with a fork or a spatula for 5 minutes or so. If you want your soap to have a creamier texture, you can use a hand held mixer to whip the soap. When the soap is ready it will thicken and looks like a sloppy porridge or a pudding.
- Add your colours, fragrances and dried flowers or other ingredients at this stage.
- Pour into soap moulds.
- Wrap the filled soap mould in clean plastic and leave it to rest in dark place for 2 days.
- After 2 days, you will be able to turn the soap out of the mould and place it on either drying rack or baking tray. Make sure you space out the soap to allow air to circulate.
- Let the soap to dry and cure on the rack for 5 weeks before using.
Leave a Reply