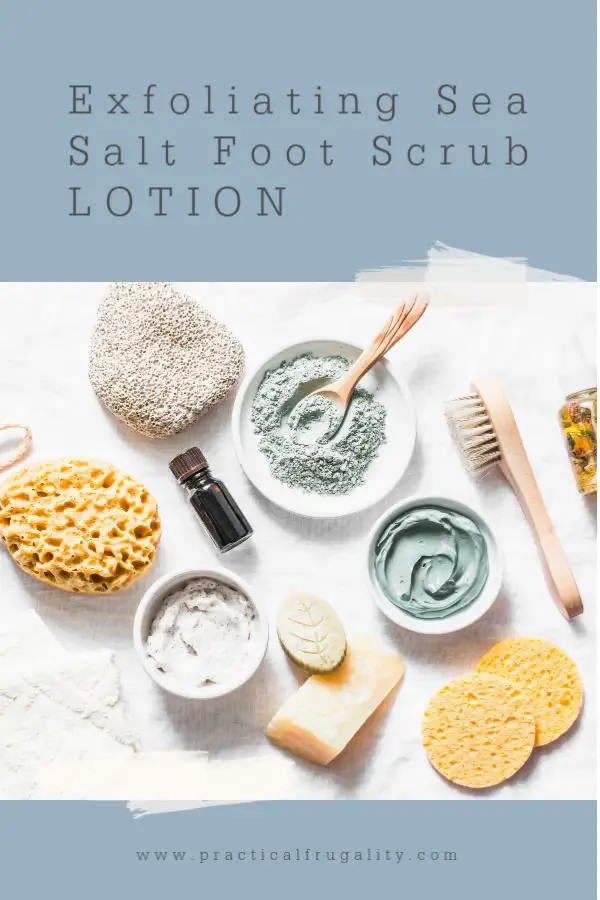
DIY Essential Oils Exfoliating Sea Salt Foot Scrub Lotion
Easy to make foot scrub with sea salt and essential oils, suitable for all skin types and perfect for a home spa day!
As I get older, I’ve found that my feet really benefit more and more from using an exfoliating foot scrub on them. Many of my friends enjoy getting pedicures, but some people just don’t enjoy them, prefer not to incur the expense, or can’t get them for medical reasons.
My friend, for example, has an autoimmune disease and her rheumatologist has advised that she should not get anymore manicures or pedicures. She also has weird allergy issues, so, she found that making her own scrubs, gentle deodorants, lip balms and other lotions at home is easier for than shopping for pre-made products that may contain something she shouldn’t be exposed to.
I often make extra batches of my DIY cosmetics and give them as a gift, as I enjoy the crafting aspect of creating these, and using my creativity to personalize them to my preferences.
Sometimes the batches make more than I can use, so I’ll gift them to others to enjoy. I hope you enjoy using this Sea Salt Foot Scrub Lotion as much as I do, it has my feet in tip top shape for sandals!
PIN THIS RECIPE FOR LATER
MORE NATURAL SKIN PROJECTS
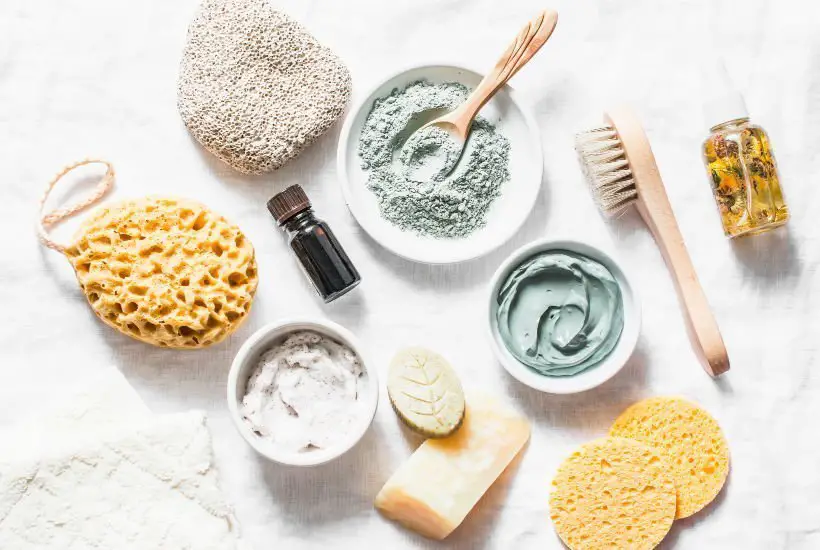
DIY Essential Oils Exfoliating Sea Salt Foot Scrub Lotion Supplies
- ½ pound glycerin soap base of your choice
- ½ cup shea butter
- ½ cup olive oil
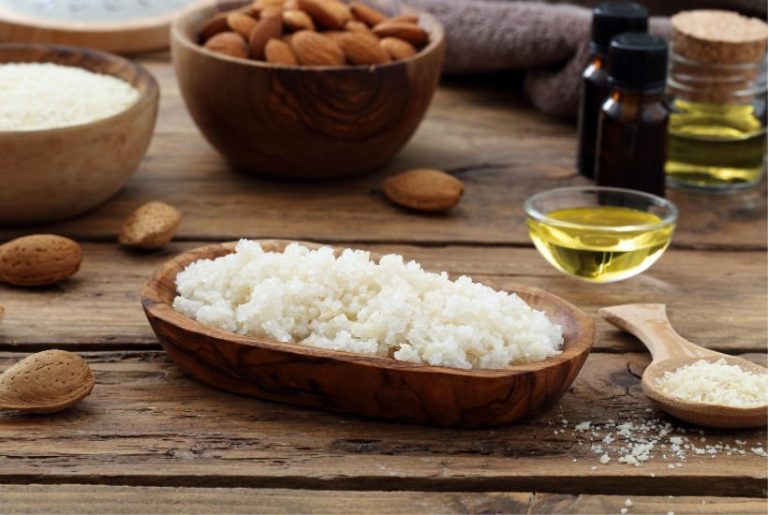
- One cup of sea salt
- 1 teaspoon sweet almond oil
- 10 drops lavender essential oil
- 10 drops peppermint essential oil
- 10 drops eucalyptus essential oil
- 2-3 drops of food coloring
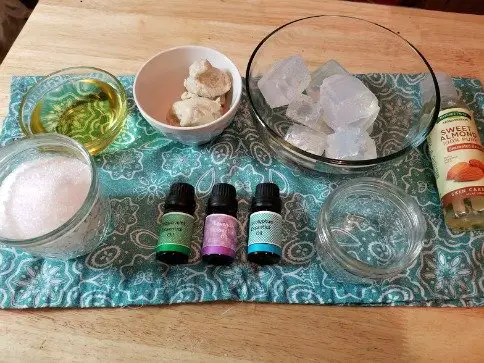
Why These Ingredients Work Wonders on Your Feet
- Coarse Sea Salt: Tough enough to slough away hard, stubborn skin on your heels, yet dissolves cleanly in warm water.
- Shea Butter & Olive Oil: Provide a heavy-duty moisture boost that locks into dry, cracked soles without needing a separate lotion afterwards.
- Peppermint & Eucalyptus: Offer a cooling, tingling sensation that instantly revives weary, swollen feet after a long day on your toes.
- Lavender: Calms irritated skin and leaves your feet smelling fresh.
Step by step instructions
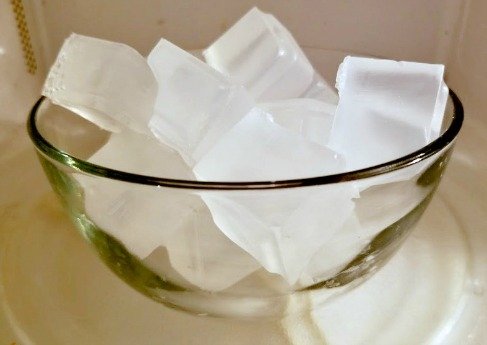
Cut the soap base into squares and place into a microwave safe bowl. Heat at 30 second intervals 2-3 times until it is almost, but not quite completely melted.
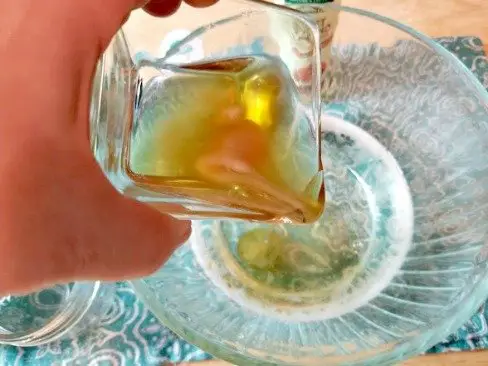
Add shea butter to the melted soap base. Heat at 30 second intervals until everything is nicely melted.
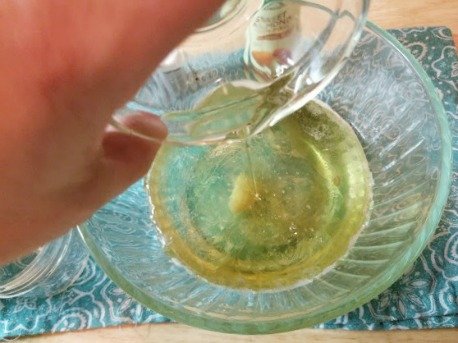
Add olive oil to the bowl.
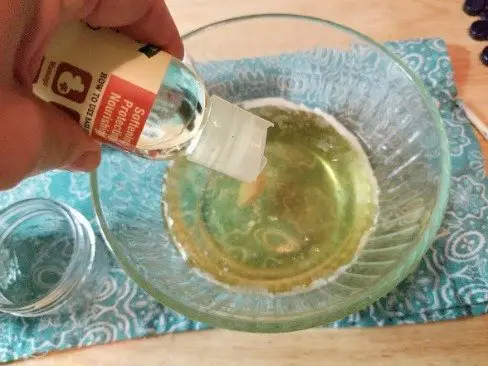
Add sweet almond oil to the mixture.
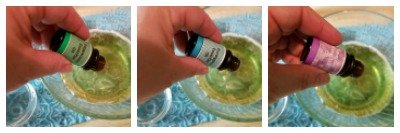
Add essentials oils.
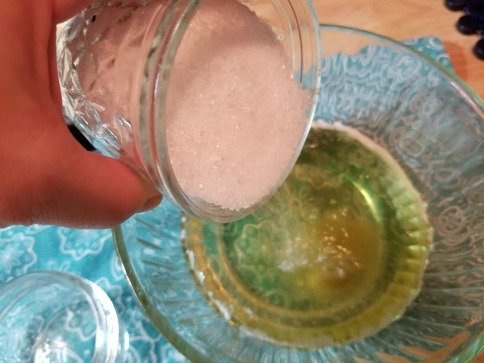
Add salt
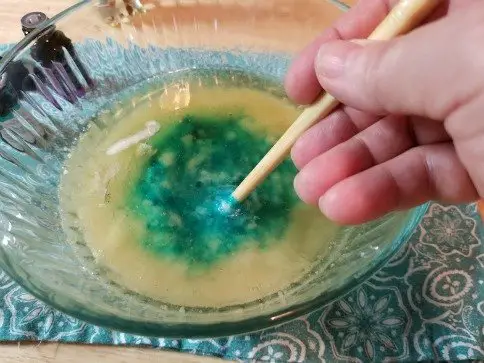
Add food coloring.
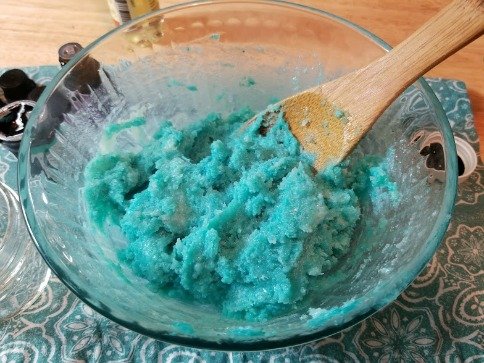
Mix everything together really well.
MORE NATURAL SKIN PROJECTS
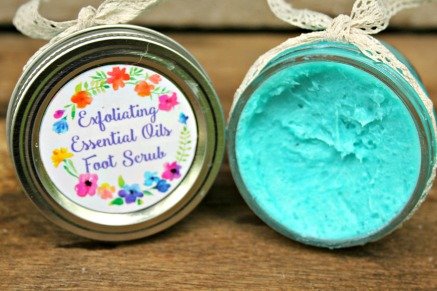
Storage, Shelf Life & Gifting Ideas
- How to store: Keep your scrub in a wide-mouthed glass jar or airtight plastic container in the bathroom. Try to use a dry spoon or clean, dry hands to scoop it out to prevent water from splashing into the jar.
- Shelf life: Thanks to the nourishing oils and lack of added water, this foot scrub will easily keep for 3 to 6 months at room temperature.
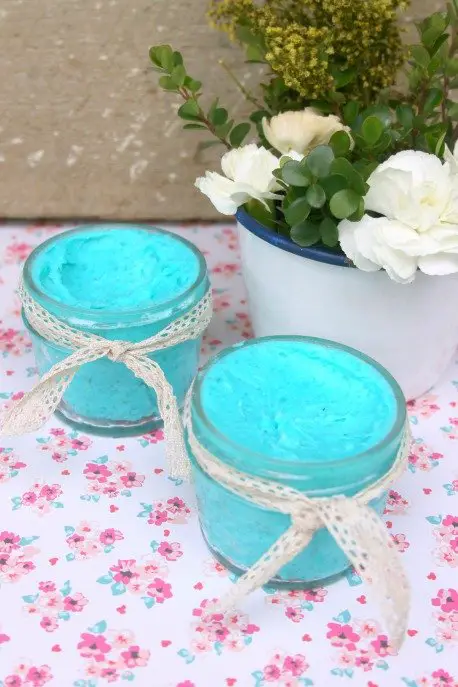
- Gifting idea: Pack the scrub into a glass clip-top jar, tie a natural wooden scoop to the side with some jute twine, and add a little tag that says “At-Home Pedicure in a Jar!” It makes a thoughtful, budget-friendly present for anyone who deserves a bit of pampering.
Top Tips for Getting the Perfect Scrub Consistency
- Let the soap cool slightly before adding salt: If your melted glycerin soap and shea butter mixture is piping hot when you pour in the sea salt, the salt grains will start dissolving! Let the melted base cool down for a minute or two until it is warm to the touch (not boiling) before folding in the salt.
- Stir while it sets: Give the mixture a gentle stir every few minutes as it cools in the bowl. This stops the coarse salt grains from sinking straight to the bottom before the soap base thickens up.
MORE HOMEMADE COSMETICS
How to Use Your Foot Scrub Safely at Home
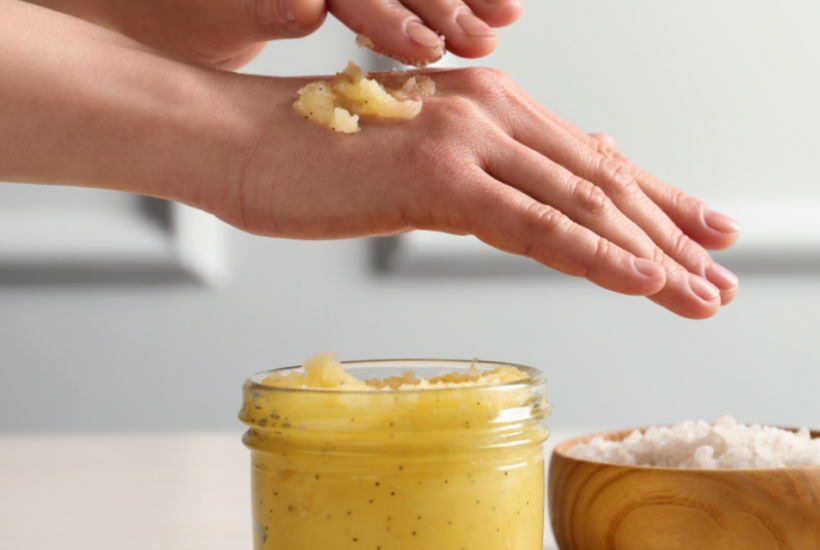
Soak your feet in a bowl of warm water for 5 to 10 minutes to soften up hard skin. Scoop out a generous handful of scrub and massage it firm, circular motions over your heels, soles, and toes. Rinse thoroughly with warm water and pat dry with a towel.
- A quick note for sensitive skin & health conditions: If you are making this for someone with delicate skin, diabetes, or an autoimmune condition, skip the added food colouring altogether to minimise potential skin allergens. Also, ensure you never use coarse salt scrubs on broken skin, open sores, or active blisters, as salt will sting!
Stay in touch
Hope this post inspires you to make your own natural cosmetics and if you do, I’d love to what you think! Let me know in the comments below or find me on Instagram, Facebook or Twitter and add the hashtag #practicalfrugality so that I can see your post.
Or why not subscribe to my weekly newsletter with frugal living tips and recipes straight to your mailbox.
Magdalena
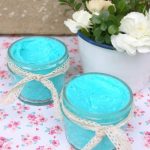
DIY Essential Oils Exfoliating Sea Salt Foot Scrub Lotion
Materials & Ingredients
- ½ pound glycerin soap base of your choice
- ½ cup shea butter
- ½ cup olive oil
- One cup of sea salt
- 1 teaspoon sweet almond oil
- 10 drops lavender essential oil
- 10 drops peppermint essential oil
- 10 drops eucalyptus essential oil
- 2-3 drops of food coloring
Instructions
- Cut the soap base into squares and place into a microwave safe bowl.
- Heat at 30 second intervals 2-3 times until it is almost, but not quite completely melted.
- Add shea butter to the melted soap base. Heat at 30 second intervals until everything is nicely melted.
- Add olive oil to the bowl.
- Add sweet almond oil to the mixture.
- Add essentials oils.
- Add salt
- Add food coloring.
- Mix everything together really well.
- Store in an airtight container or ziplock bag until ready to use.
This blog post was originally written on 20 October 2020 and last updated on 2 September 2026