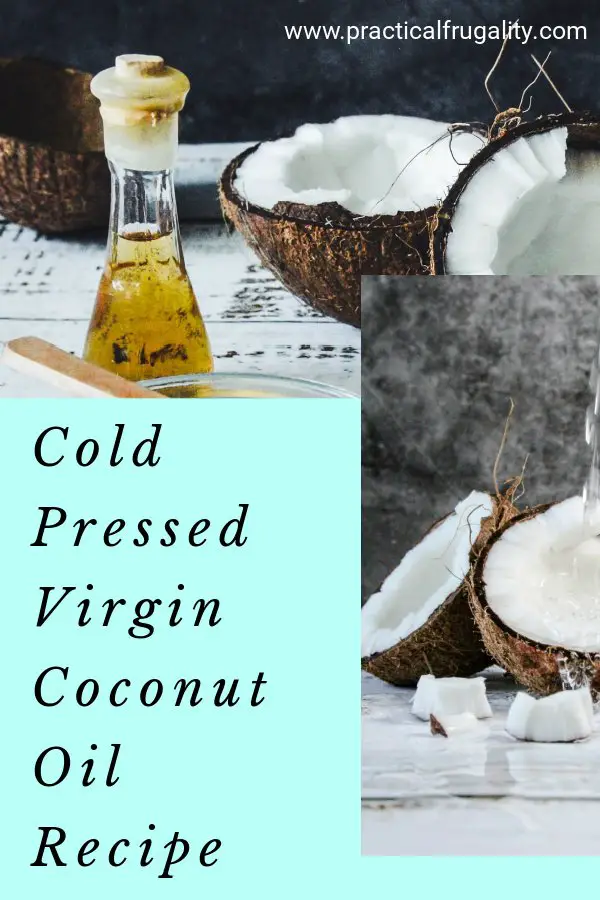
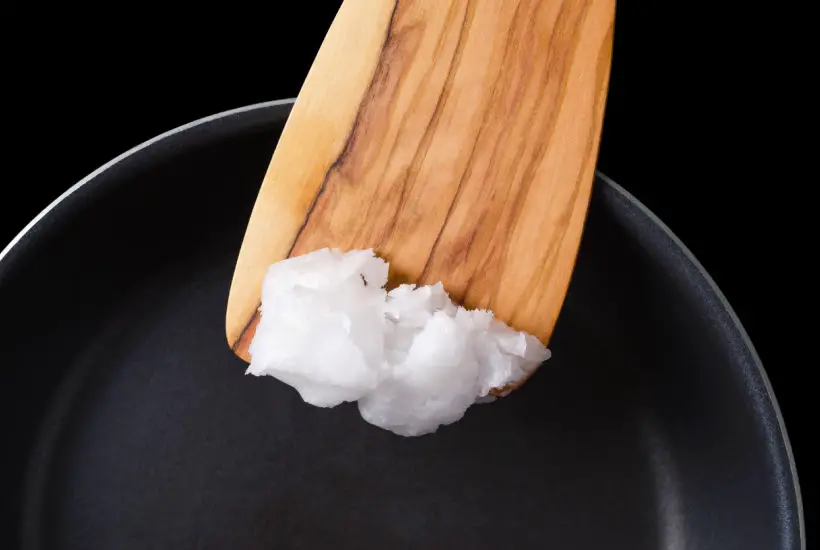
Coconut oil is an amazing ingredient. It has so many uses, from cooking, baking, making cosmetics or even candle gifts.
I use it all the time and good quality coconut oil can be a little pricey. That is why today, I wanted to share with you my recipe for cold pressed virgin coconut oil.
PIN THIS FOR LATER
MORE DIY PROJECTS YOU CAN TRY AT HOME
How to make coconut oil at home (cold-pressed method)
Introduction & Handy Tips
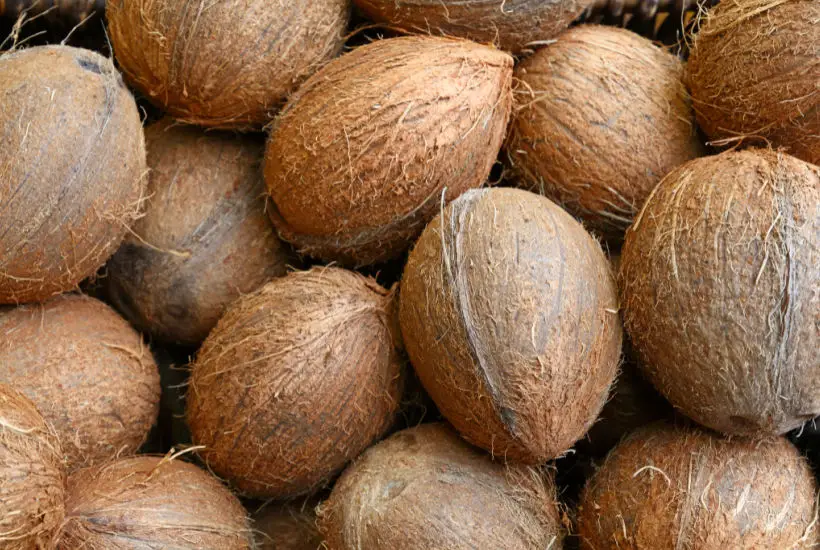
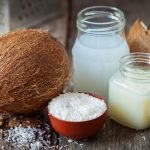
You’ll need about five to six coconuts to produce one cup of coconut oil, so there is still a cost, but if you can get coconuts at a bargain price, it’s definitely worth making your own coconut oil at home.
To make this recipe, you will need just coconuts and water, but it’s worth mentioning that you’ll end up with more than just coconut oil.
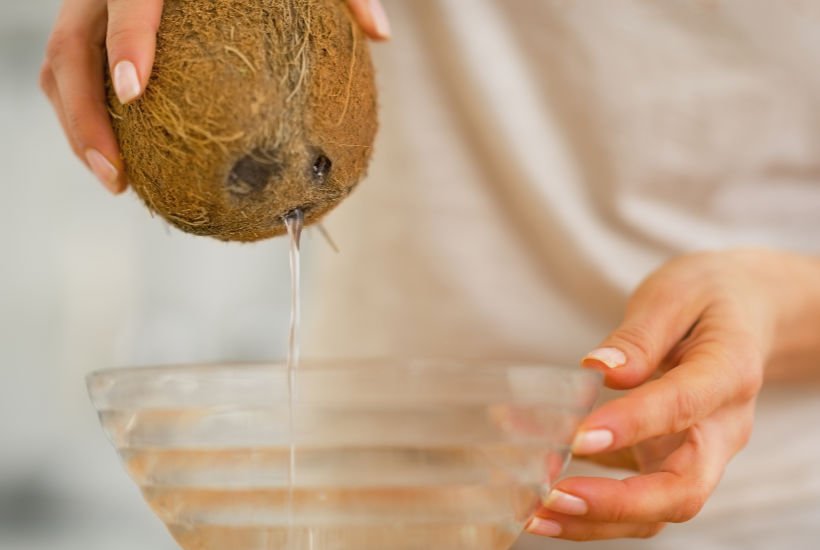
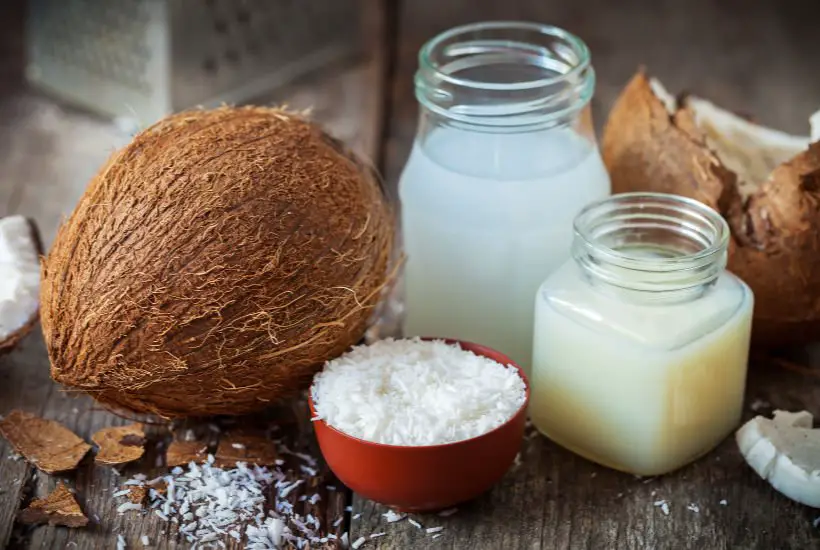
You’ll first need to pour out the coconut water from the coconuts. This taste delicious on its own, but you can always add more water and a few drops of lemon to make it into a refreshing drink.
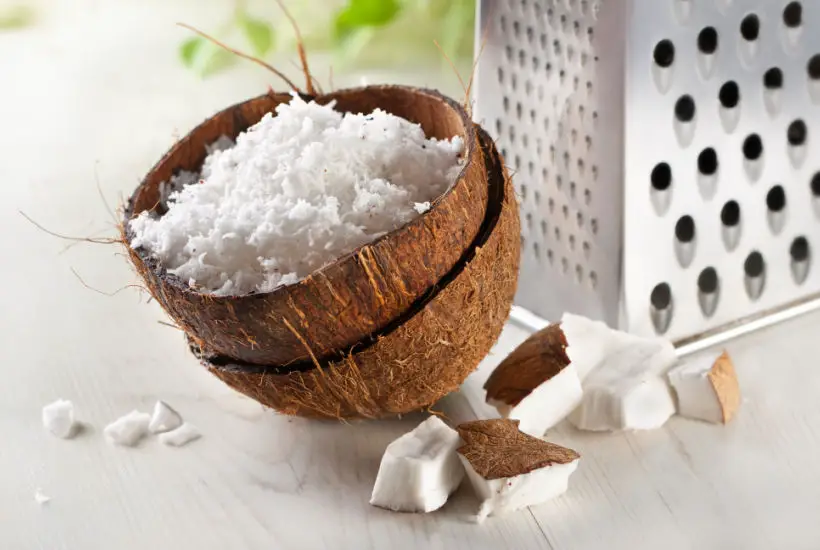
How to use leftover shredded coconut
Once you process the rest of the coconut, you’ll end up with a lot of shredded coconuts. This can be easily used for baking (you can leave the shredded coconut to dry and then process it to coconut flour by grinding it).
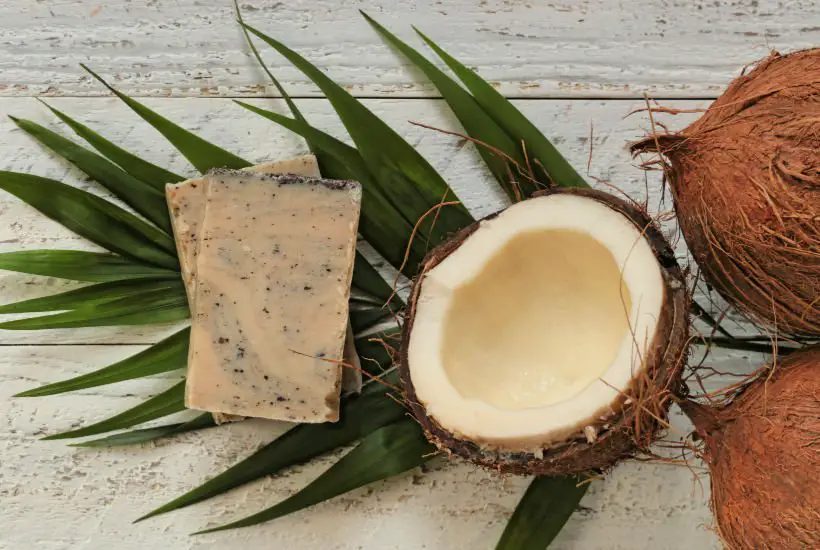
You can also use the used coconut shreds to make body scrubs, soaps and butters.
The flavour won’t be as strong as if you used fresh coconut, but it utilises the whole coconut and there is no waste, which is what we want!
How to remove the coconut meat from the shells
To get the coconut meat (the white fleshy bits of coconut) out of the shells takes a bit of a time, but it helps to bake them for about 10 minutes on about 180C in the oven. After that they come out of their shelves much easier.
If you don’t want to have the brown part of the coconut meat in your oil, peal it with a sharp knife or a sturdy julienne peeler. I usually take my time peeling the coconut meat.
As a part of the process, you will also get coconut cream, which you can use to make a simple coconut cheese, butter or use it for baking.
If you wanted to make coconut milk, you’ll follow the same process and just stop half-way through the process of making your coconut oil.
COLD PRESSED VIRGIN COCONUT OIL RECIPE – step by step
Prep time 48 hours Total time 48 hours Serves: About ½ cup
EQUIPMENT
- screwdriver/hammer
- Food processor or blender
- cheesecloth/fine mesh strainer
MATERIALS & INGREDIENTS
- 3 large coconuts
INSTRUCTIONS
Carefully make a hole into the coconut and drain the coconut water.
Next you will need to crack open the coconuts and take out the harder part of the coconuts. The best way to do this is to wedge screwdriver or something blunt in between the shell and white coconut meat and piercing it out.
Work in small batches (so that you don’t over heat your blender) and blend the coconut meat with water, using a 1:1 ratio.
You’ll need to use scales for this. Carry on blending until you reach creamy consistency. (If you don’t have a blender you can grate the coconut on a fine grater, but blender will give you better results)
Pour everything into a large plastic bowl and use your clean hands to squeeze the coconut pulp for about 20-30 minutes. This helps to release the oils from the coconut pulp.
Leave the coconut pulp to sit for a few hours.
Working in small batches, push all the coconut pulp through a cheesecloth or fine mesh strainer. Make sure you get as much water out as possible. You should end up with nearly dry coconut flakes.
If you want to have an extra yeald, repead the pressing process again.
At this stage you’ll have a coconut milk (which if you want to you can use for drinking, baking or any other uses).
Cover the bowl with a plastic cover and allow it to sit, undisturbed in a dark, cold place for 1-2 days
After this time, place the bowl to fridge to chill for a few hours and speed up the process.
You’ll end up with three layers in your bowl. The top is the cream, middle layer is the coconut oil and the bottom is just the water.
You need to carefully skim off the top layer of cream, which can be used for baking or cheese making.
Spoon the oil floating on top of the water.
Filter the oil through a clean cheesecloth.
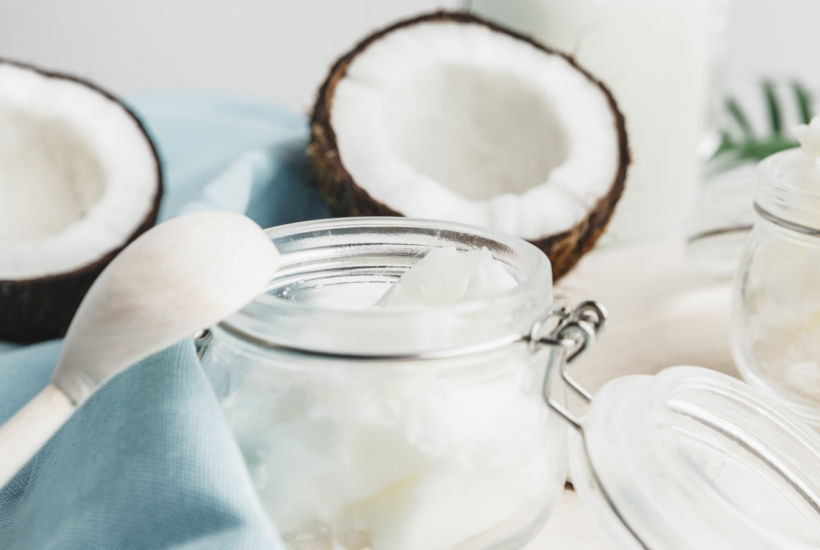
Allow the remaining moisture to evaporate for few hours, then place in a jam jar and store in a dry cold cupboard until needed.
Coconut oil uses
Removing makeup
Leave in hair conditioner
Using instead of cream for hands or body
Mix with few drops of your favourite essential oil and use it for body massage
Baking instead of traditional butter (perfect for biscuits, cookies, cakes etc.)
Great for medium heat frying as it doesn’t burn or smoke easily
Add to salad dressings
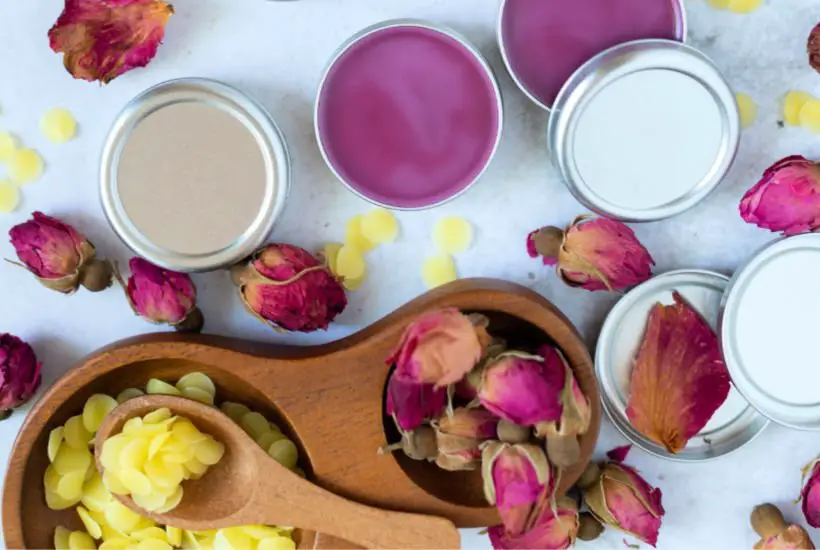
Homemade cosmetics (lip balm, body butter, body scrub, nourishing soap)
Making candles
Helps to calm down sunburned skin
Mix with baking soda to use as a whitening toothpaste
Use around the house to polish wood or leather
I’m sure there are many more, so if you know any let me know in the comments below!
Recipes & Projects with coconut oil
If you are put off by making your own coconut oil at home, just use a shop bought one to enjoy the many uses that coconut oil has.
But for those who like to be frugal (and experiment a little too!) let’s get started with the recipe!
This recipe is a cold pressed method helps to preserve more of the coconut vitamins and antioxidants, than other methods, which heat up the oil before and after the process.
And of course, this is also a method you can do at home with no equipment or machinery!
More questions & tips about coconut oil making
Can cold pressed coconut oil be used for cooking?
Homemade coconut oil is best suited for baking, cosmetics and other uses where you don’t need to heat up the oil too much.
You can still use it for low heat cooking or frying, but you are better off using refined coconut oil for high temperature frying. Cold pressed coconut oil is too fragile for that.
How to store your coconut oil
It’s best to store your coconut oil in a jam jar with a tight lid. You don’t need to keep the oil in a fridge. Use it within 2-3 months.
Stay in touch
Hope this post inspires you to make your own coconut oil and if you do, I’d love to what you think! Let me know in the comments below or find me on Instagram, Facebook or Twitter and add the hashtag #practicalfrugality so that I can see your post.
Or why not subscribe to my weekly newsletter with frugal living tips and recipes straight to your mailbox.
Magdalena
Cold Pressed Virgin Coconut Oil Recipe
Equipment
- screwdriver/hammer
- Food processor or blender
- cheesecloth/fine mesh strainer
Materials & Ingredients
- 3 large coconuts
Instructions
- Carefully make a hole into the coconut and drain the coconut water.
- Next you will need to crack open the coconuts and take out the harder part of the coconuts. The best way to do this is to wedge screwdriver or something blunt in between the shell and white coconut meat and piercing it out.
- Work in small batches (so that you don’t over heat your blender) and blend the coconut meat with water, using a 1:1 ratio. You’ll need to use scales for this. Carry on blending until you reach creamy consistency. (If you don’t have a blender you can grate the coconut on a fine grater, but blender will give you better results)
- Pour everything into a large plastic bowl and use your clean hands to squeeze the coconut pulp for about 20-30 minutes. This helps to release the oils from the coconut pulp.
- Leave the coconut pulp to sit for a few hours.
- Working in small batches, push all the coconut pulp through a cheesecloth or fine mesh strainer. Make sure you get as much water out as possible. You should end up with nearly dry coconut flakes.
- If you want to have an extra yeald, repead the pressing process again.
- At this stage you’ll have a coconut milk (which if you want to you can use for drinking, baking or any other uses).
- Cover the bowl with a plastic cover and allow it to sit, undisturbed in a dark, cold place for 1-2 days
- After this time, place the bowl to fridge to chill for a few hours and speed up the process.
- You’ll end up with three layers in your bowl. The top is the cream, middle layer is the coconut oil and the bottom is just the water.
- You need to carefully skim off the top layer of cream, which can be used for baking or cheese making.
- Spoon the oil floating on top of the water.
- Filter the oil through a clean cheesecloth.
- Allow the remaining moisture to evaporate for few hours, then place in a jam jar and store in a dry cold cupboard until needed.
Leave a Reply