Melted snowman water bottle labels (FREE printables)
Making these snowman melted water bottles is a fun little project you can do with your children or anyone young in heart!
They are perfect for winter birthday parties, Christmas get togethers, but also fun to take to school or work with your lunch box.
Even if you manage to save for all your Christmas presents, this budget friendly gift idea project is a great to add to a food hamper or fun gift idea.
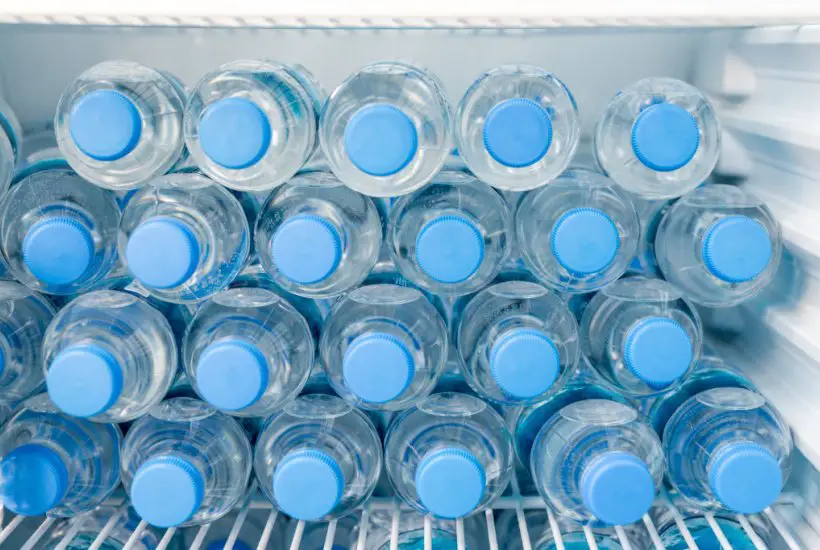
Using these homemade labels is also good for recycling your water bottles (when the original label falls off) and encouraging you (or your children) to drink more water.
It’s pretty cool to sip water from one of these – a perfect conversation starter anywhere you are!
My tips for making this project successfully
There is not a lot of supplies you will need for this project, but the labels look better when they are printed on a thicker paper or even a card.
Satin white paper looks great, but you can also use ordinary printer paper.
I’ve designed the labels, so that they fit the standard 500ml water bottles sold in most supermarkets or food shops. If you have a different size bottle, just adjust the label to fit your size.
The labels are best printed on a A4 size paper and printed in colour. You are welcome to print them in black and white, if you want to save your printer colours.
MORE FESTIVE RECIPES & PROJECTS
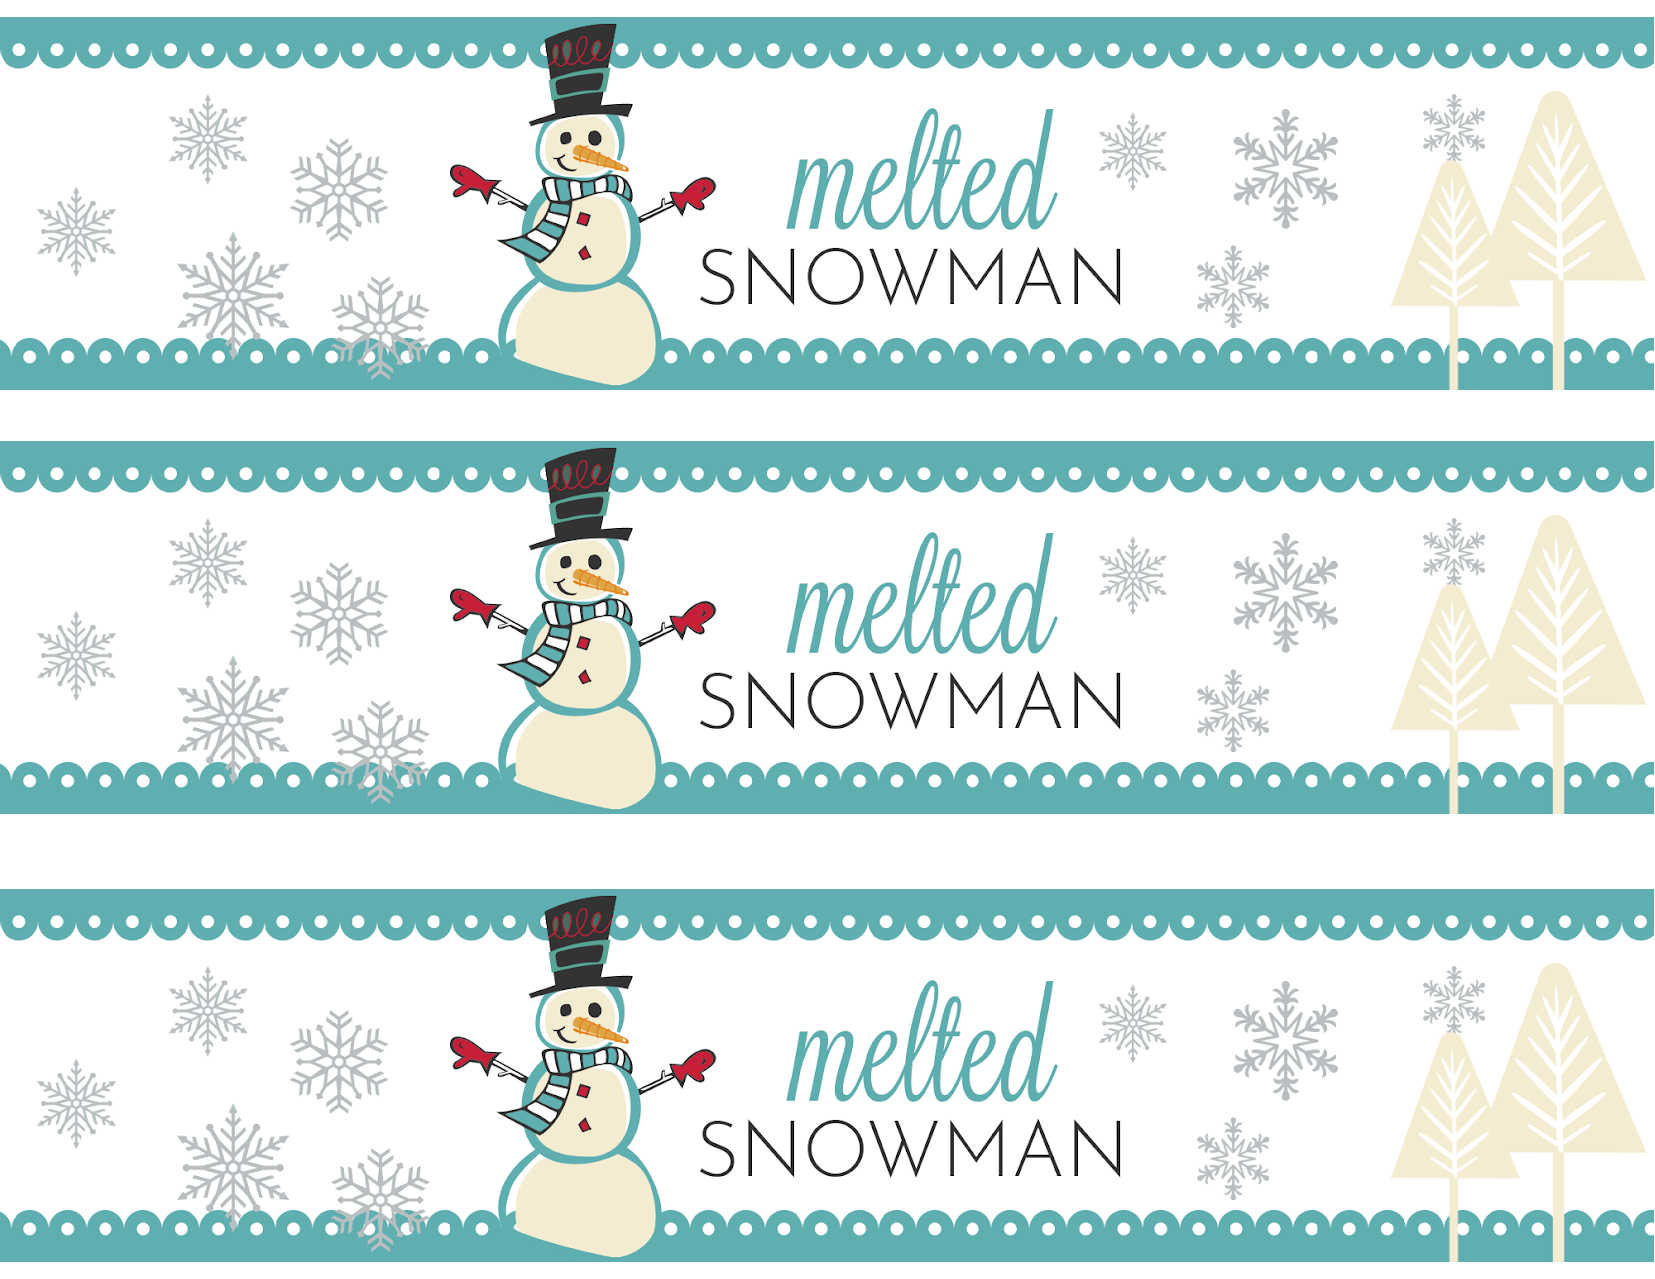
To print your labels, just click on the picture below, save to your computer and then print from your home printer.
Before you start you will need
- Bottled Water 500ml size
- Melted Snowman Printable (best results if printed on a thicker paper)
- Double-stick tape or suitable paper glue
- Scissors
MORE FESTIVE RECIPES & PROJECTS
How to make your Melted Snowman Water Bottles
Remove the branded labels from the bottles
Print your Melted Snowman Bottle Labels and cut them to size.
Place a piece of double-stick tape on the back of both ends of the label or use a suitable paper glue (and let the paper to overlap)
Wrap the label around the bottle of water and press firmly taped ends onto the bottle to secure in place.
MORE FESTIVE RECIPES & PROJECTS
My tips to make this project easy and safe
While this is a simple project, a couple of quick tips will help everything go smoothly. When using scissors, make sure an adult supervises younger children, or an adult should do the cutting for them. We want those labels cut out perfectly and safely!
For printing the labels, if you find the colors look too light, try changing your printer settings to “Best Quality” or “Photo Quality.” This uses a little more ink but makes the snowman look bright and clear.
Lastly, if you are using glue instead of double-stick tape, make sure to let the label dry for a few minutes after you press it onto the bottle before handing it out. This ensures the edges stay firmly sealed and won’t peel off!
How to keep your labels waterproof
You might want to chill your bottles in the refrigerator or put them on ice for a party, but water can sometimes make paper labels sag or tear.
To keep your snowman looking sharp even when it’s cold and wet, you can make the paper labels slightly waterproof. A simple way to do this is to use clear packing tape.
Once the label is printed and cut, carefully cover the entire picture side with strips of clear packing tape, overlapping the strips slightly. Press the tape down firmly to remove any air bubbles. Then, attach the label to the bottle as usual.
This clear layer acts like a plastic shield, protecting the paper from condensation and melting ice, so your snowman can stay cool and look great for much longer!
MORE FESTIVE RECIPES & PROJECTS
Tips for the Best Snowman Look
To make your melted snowman bottles look extra cool and special, here are a few simple tips. After you’ve attached the label, you can use a fine-tipped permanent marker to add a little something extra.
Try drawing a tiny black coal smile or some blushing orange cheeks right onto the bottle cap or the top curved part of the bottle. If you’re feeling ambitious, you could even tie a small piece of fabric ribbon around the neck of the bottle to look like a tiny scarf!
Great Ways to Present Your Snowman Water
These fun bottles are already a great conversation starter, but if you’re giving them as a gift, you can make the presentation even better!
If you’re using them for a party, arrange the bottles in a big bucket or bowl filled with ice. The ice will keep the water cold and add to the snowy, winter theme.
If you’re putting them into a food hamper, try placing them right in the middle, standing up. They will add a nice pop of bright color and fun to the basket. Everyone who sees them will smile!
More Than Just a Craft: Staying Hydrated!
One of the best things about this project is that it encourages everyone to drink more water! Sometimes, drinking plain water can feel a little boring.
But when you have a fun, personalized bottle, you will be much more likely to pick it up and take a sip. Keeping hydrated is super important for your body, especially when you are busy during the holiday season. Think of your melted snowman as a helpful, chilly friend reminding you to stay healthy while you enjoy the winter fun!
My tip for getting rid of sticky glue from previous labels
When you peel off the original bottle label, you might find some sticky glue residue left on the plastic. This can make the new paper label look bumpy or cause it to slide around.
A quick way to clean this off is to rub the sticky spot with a little bit of rubbing alcohol or even a small amount of peanut butter on a paper towel. Wipe it clean afterward with a damp cloth, and your bottle will be perfectly smooth and ready for its new snowman label!
Melted Snowman Water Bottles Labels (FREE printables)
Equipment
- Bottled Water 500ml size
- Melted Snowman Printable (best results if printed on a thicker paper)
- Double-stick tape or suitable paper glue
- Scissors
Instructions
- Remove the branded labels from the bottles
- Print your Melted Snowman Bottle Labels and cut them to size.
- Place a piece of double-stick tape on the back of both ends of the label or use a suitable paper glue (and let the paper to overlap)
- Wrap the label around the bottle of water and press firmly taped ends onto the bottle to secure in place.
This blog post was originally written on 6 December 2020 and last updated on 20 November 2025.