Rosehip chutney is a great way to use up some of the rosehips we collect in the autumn. Rosehips are one of many wild foods we bring home, when we go foraging during September and October.
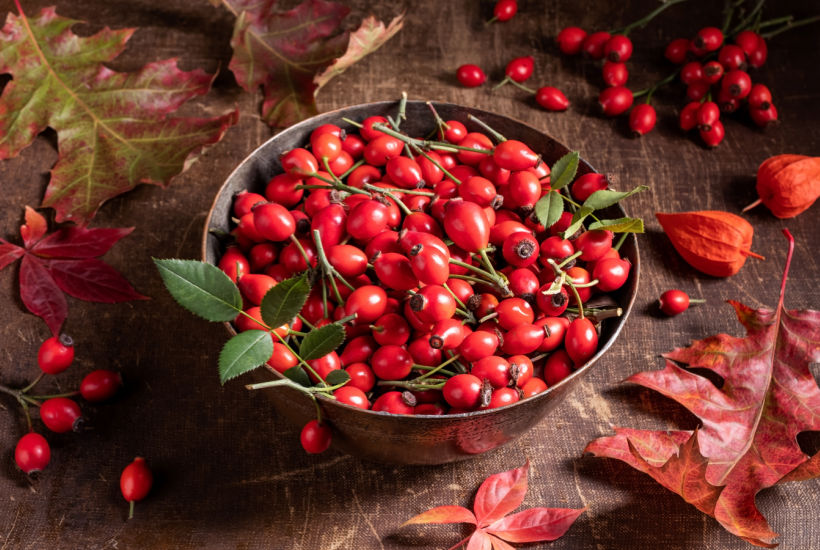
Rosehips are easily recognisable (see the picture below), but if you are not quite sure, get a travel size foraging guide book to make sure you bring home the right plant!
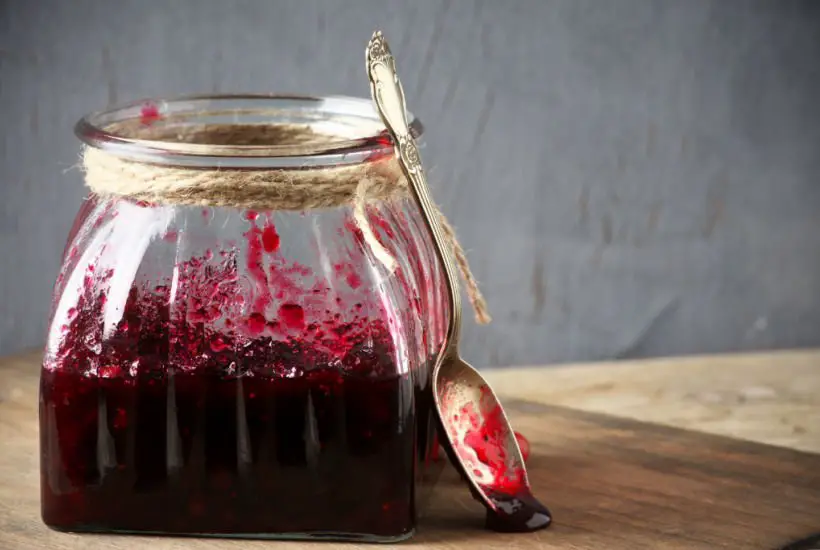
I like that the chutney flavour is sharp (similar to cranberry chutney or jelly), but sweet at the same time.
Why make rosehip chutney?
- Great use of wild food, that you can gather for free
- Rosehips are full of good nutrition, including vitamin C
- Distinctive taste that works well with cheese, meat and homemade bread
MORE SEASONAL RECIPES
What is rosehip chutney?
Rosehip chutney is a condiment made from a combination of chopped rosehips, vinegar, sugar, and spices that are cooked together until they form a thick, chunky spread. It is often served with roasted meats such as beef, ham, venison, or turkey. While most chutneys are on the spicy side, the heat level can be adjusted to taste when making it at home.
When and how to collect rosehips
Rose hips are typically ready to be harvested in the late summer or early fall, when they have turned a bright red or orange color and are slightly soft to the touch.
To collect rose hips, use a pair of sharp pruning shears or scissors to cut the fruit from the stem, leaving a small portion of the stem attached to the hip. Be careful when handling the hips, as they may have small thorns that can prick your skin.
It’s best to collect rose hips from bushes that have not been sprayed with pesticides or other chemicals. If you’re not sure whether a particular bush has been treated, it’s best to err on the side of caution and avoid harvesting from it.
The nutritional value of rosehips
Rosehips are a good source of vitamin C, which is important for immune system function and collagen production. In fact, 100 grams of rosehips can provide up to 710% of the daily value for vitamin C.
Rosehips are also a good source of vitamin A, which is important for healthy eyes. Additionally, they contain fiber, calcium, and potassium.
Rosehip Chutney ingredients
Rosehips
You can use dry or fresh rosehips, but make sure that you take out the seeds and stalks before drying them.
I’ve not found an easy way to remove the seeds, the best thing to do is just take a small sharp knife to open the rosehip and then take out the seeds with your thumb.
You can wear thin catering gloves if you like, as the seeds have tiny thin spikes that can get under your nails and are not particularly easy to get rid of.
I prefer to remove the seeds before I use the rosehips, but my friend uses a different method. She puts the rosehips into the blender, boils them with water and then uses a fine sieve (with muslin cloth) to get rid of the seeds.
Apples
The original recipe has cooking apples, but I’ve used many times apples that I collected from the trees at the same time as my rosehips. I’m not entirely sure what type they were, but the chutney always turn out fine.
The only thing you need to bear in mind, is that cooking apples cook quicker than eating apples and have a different flavour. But you can easily adjust your recipe flavour with extra lemon juice or spices.
Dried Fruit
You can control the flavour by using different apples, and swapping raisins for dry prunes or other dried fruits.
I tend to use just basic vinegar, but you could use cider vinegar which has a lovely apple flavour.
Quantity & Measurements
This recipe makes quite a big batch of rosehip chutney. This is because you need to wait a few months before you can eat it, so you won’t be probably making more than one batch a year.
If you prefer, you can use half the recipe ingredients to make a smaller batch. This is useful if you want to just try the recipe out or you don’t have than many rosehips.
Just divide everything by 2 or 3 depending on how much rosehips you have and adjust the cooking time. Everything will be ready much quicker.
Equipment
Bowls for soaking
Make sure that you use plastic or glass bowls for the first stage of making your rosehip chutney. The vinegar in the mixture can react with anything metal or iron-based, so it’s not a good idea to use anything with those materials.
Jam jars
For the same reasons as above, use either glass jars with hinged lids (and rubber seals) or jam jars that you seal with cellophane or plastic lids. (or plastic-lined lids).
Don’t use metal jars or metal lids as these will corrode in contact with the high vinegar percentage inside the chutney.
How to make Rosehip Chutney at HOme – INSTRUCTIONS
Remove seeds and stalks from the rosehips.
In a large plastic (or glass) bowl, soak the rosehips, raisins and apples in vinegar. Leave for at least 8 hrs or overnight.
Next day, place the rosehips and fruit mixture with all the spices and the remaining ingredients in a large saucepan.
Bring the chutney mixture to a boil, then reduce the heat and simmer until mixture is thickened. This can take quite some time, but don’t rush the process.
Stir occasionally
Prepare your jam jars by washing them and sterilising them in an oven on 100 C for about 10 minutes.
Once your chutney reaches the desired thickness, take off the heat and leave to cool down a bit.
Spoon the chutney in jam jars, seal and leave to cool down properly.
Leaving your homemade rosehip chutney to mature
The only drawback of making chutneys at home, is that you can’t eat them straight away. The vinegar in the chutney needs to have time to do its own magic.
Homemade chutney needs time to mature and develop its flavors, which is why it is not recommended to eat it straightaway after making it. During the maturation process, the flavors of the ingredients meld together and become more complex, resulting in a richer, more flavorful chutney
This means that you need to leave the chutney to mature for at least 4 weeks, but you’ll get the best flavour if you leave it even longer (like 3 months).
If you try to eat the chutney too early, you’ll be disappointed with the flavour as the vinegar will overpower all the other flavours and it won’t taste very nice at all.
Keep the chutney jars in the dark, cold place (like a store room or cold kitchen cupboard) and once open use up within 4 weeks and keep in the fridge.
Basically, if you make your rosehip chutney in September (when rosehips are in season), you’ll have a lovely chutney ready for Christmas!
How to store homemade rosehip chutney
Homemade chutney should be stored in a cool, dark place away from direct sunlight. This will help to preserve the quality and flavor of the chutney.
Once the chutney has been opened, it should be stored in the refrigerator to extend its shelf life. It’s important to store the chutney in a clean, airtight container to prevent contamination and spoilage.
Homemade chutney can also be frozen to extend its shelf life even further (after it’s been matured for 1-3 months). To freeze chutney, transfer it to a freezer-safe container and store it in the freezer for up to 6 months.
How long does homemade rosehip chutney last when not opened?
Homemade chutney can last for up to 1 year or more when stored properly in a cool, dark place away from direct sunlight and heat sources. However, the exact shelf life may vary depending on the specific recipe and ingredients used. It’s important to check the chutney for signs of spoilage, such as mold, off odors, or discoloration, before consuming it.
How long does a homemade rosehip chutney last once opened?
Homemade rosehip chutney can last for up to 2 to 3 months in the refrigerator once it has been opened. However, the shelf life may be shorter for homemade chutneys compared to commercially produced ones due to the absence of preservatives. It’s important to store homemade chutney in a clean, airtight container in the refrigerator to help prolong its shelf life.
How to use rosehip chutney
Rosehip chutney is perfect with any meat, particularly game meat or with cheddar cheese. It has a sharp (but mellow) fruity taste, so it’s great with strong cheese, duck pate or roasted meats.
Stay in touch
Hope this blog post inspires you to make this recipe and if you do, I’d love to what you think! Let me know in the comments below or find me on Instagram, Facebook or Twitter and add the hashtag #practicalfrugality so that I can see your post.
Or why not subscribe to my weekly newsletter with frugal living tips and recipes straight to your mailbox.
Magdalena
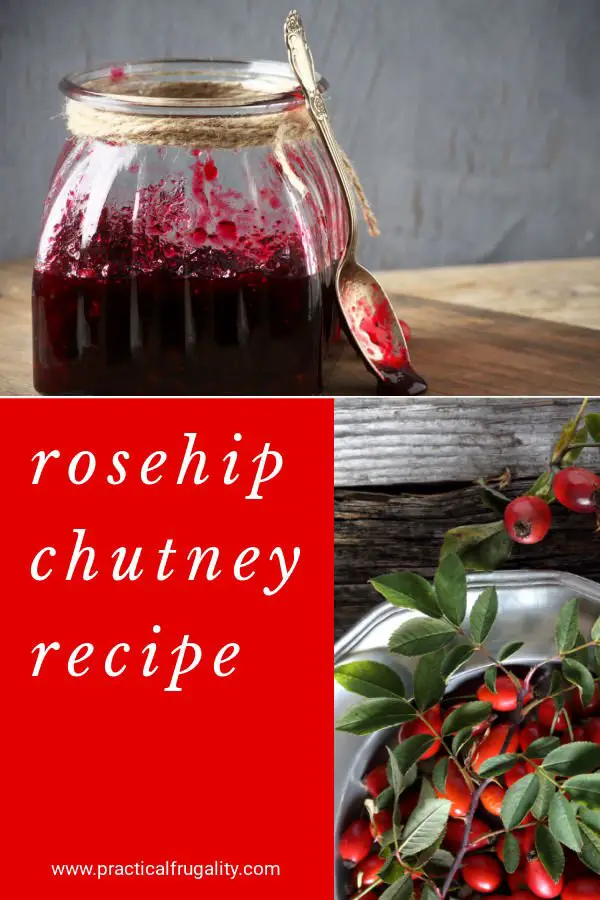
PIN THIS FOR LATER

Rosehip Chutney Recipe
Ingredients
- 500 g fresh rosehips seeds removed or 250g of dried rosehips
- 500 g pint Vinegar
- 250 g seedless raisins roughly chopped
- 500 g cooking Apples peeled cored chopped
- 1 teaspoon ground Ginger
- 1/2 teaspoon ground Pepper
- 1 teaspoon ground Cloves
- 1 large clove garlic minced
- 1 red onion chopped
- 250 g Brown Sugar
- 2 tablespoons of Lemon Juice
- 2 tablespoons Orange Juice
- 1 teaspoon grated Orange rind
Instructions
- Remove seeds and stalks from the rosehips.
- In a large plastic (or glass) bowl, soak the rosehips, raisins and apples in vinegar. Leave for at least 8 hrs or overnight.
- Next day, place the rosehips and fruit mixture with all the spices and the remaining ingredients in a large saucepan.
- Bring the chutney mixture to a boil, then reduce the heat and simmer until mixture is thickened. This can take quite some time, but don’t rush the process.
- Stir occasionally
- Prepare your jam jars by washing them and sterilising them in an oven on 100 C for about 10 minutes.
- Once your chutney reaches the desired thickness, take off the heat and leave to cool down a bit.
- Spoon the chutney in jam jars, seal and leave to cool down properly.
The flavour of this chutney is perfect with cold meats and my fresh sourdough bread. My friends loved it too! Thanks for the recipe.
Thank you for the recipe! I’ve been looking for something a bit different to make with my rosehips that we like to collect when we go walking in the countryside. This rosehip chutney was a great success with my family – we had it with a cheese platter and chicken pate.