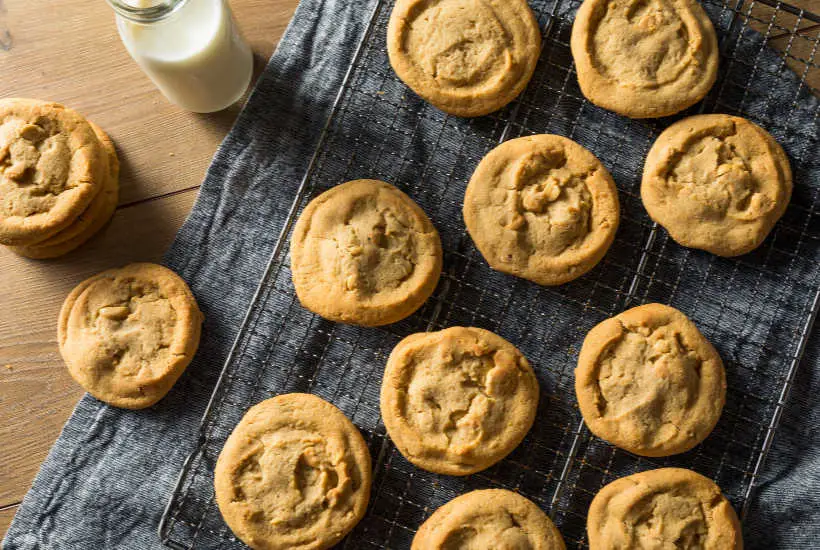
If you’ve run out your last packet of Nutter Butter biscuits and the local shops are already closed, you might be wondering if you can make Nutter Butter Biscuits at home. Well, the simple answer is, that you can!

Your homemade version of peanut nutter butter cookies might not be absolutely the same taste or texture like the shop bought ones (since you are not a biscuit making factory machine!), but I think they will be even better!
The bonus is that you’ll only use ingredients that you want and don’t add any unnecessary salt or sugar, that you don’t want. This will make your homemade peanut butter biscuits so much better and healthier too!
You’ll need some simple ingredients to create this recipe and you can use both crunchy peanut butter or smooth peanut butter. It really depends on your taste.
Since we are talking healthy eating, peanut butter biscuits are actually pretty healthy as they are. They are packed with protein (that’s the egg and peanut butter), which means they will fill you up without scoffing the whole pack.
This recipe is a simple base recipe, that you can tweak to your liking. If you find that your dough mixture is too runny, just add a little bit more flour. This is usually caused by the peanut butter, as different varieties will have a different thickness.
I’ve tried this recipe with a teaspoon of vanilla extract, which made it extra yummy, but if I don’t have it to hand, I don’t worry about it too much. It works well without it.
You can also vary the amount of salt you add it. Some people prefer the salty taste of their peanut butter, so if that’s you, you might like to increase the amount from a little pinch to at least 1/2 teaspoon.
If you’d like to add a little decorative sugar on the top of your peanut butter cookies, you can dip the little balls of cookies into a caster sugar before you place them on the baking sheet. This adds in an extra crunch.
This peanut butter mixture requires chilling time in the fridge. I recommend that you chill the cookies for at least an hour, but if you can chill them for little longer. If your kitchen is very warm or you are making these in the summer, it’s also a good idea to chill them when you finish rolling them and placing them onto the baking sheet. As you are handling the dough with your hands, you are going to warm up the dough and it doesn’t matter how long you’ve had it in the fridge before, it might be still too warm and spread too much in the oven.
And one last note on how to tell when the cookies are done. Since this peanut butter cookie dough is already fairly brown in colour, it could be difficult to tell when they are done as you ment to bake them until golden. My suggestion is to put them in preheated oven and time exactly 8-10 minutes and then take them out. They might even look like they are a bit soft (and undone!!!) in the middle, but that’s fine. As the biscuits cool down they firm up.
If you overbake them (which can easily be a difference between 8 minutes and 13 minutes), they will taste quite hard when they cool down.
Once you try these, I’d love to know what you think! In the meantime, I’m going to make another batch, make a coffee and read my favourite book!
Happy Baking!
Magdalena
More delicious biscuit & Sweet treats recipes
Simple Peanut Butter Cookies
Ingredients
- 225 g butter – unsalted
- 300 g peanut butter crunchy or smooth
- 200 g caster sugar fine sugar
- 200 g soft brown sugar
- 2 eggs
- 330 g plain flour
- 1 teaspoon baking powder
- pinch salt
- 1 teaspoon soda
Instructions
- Warm the butter and peanut butter slightly in a microwave (in a microwave suitable bowl)
- Mix in the sugars
- Add the eggs and mix well
- In a separate bowl, mix together the flour, baking powder, soda and salt and stir into the peanut butter mixture
- Leave it to rest in the fridge for about an hour
- Form the dough into about an inch (2.5 cm) balls and space them on a baking sheet lined with a non-stick baking parchment. Flatten each biscuit a little with a fork and bake in preheated oven (180C) for about 8-10 minutes or until golden brown.
- Leave to cool down on a cooling rack.


Leave a Reply